How to Mop a Floor Properly: Professional Secrets for Spotless Floors
Mop a floor properly by sweeping or vacuuming to remove loose dirt, then mixing a floor-safe cleaner with warm water. Dip the mop and wring it until damp, not dripping. Mop in 3–4 square meter sections using long, straight strokes, and work backward toward an exit to avoid stepping on wet floors.
Preparing Your Floor Before You Mop
Preparation determines whether your mopping session delivers clean floors or simply redistributes dirt. Before you dip that mop head into water, these four steps set you up for success.
Remove Loose Debris First
Sweeping or vacuuming before mopping prevents you from creating muddy floors. Weekly sweeping removes sand and debris that could scratch hard floors during mopping. When you skip this step, your mop turns dirt into mud and spreads it around, requiring multiple passes to achieve clean floors.
A vacuum with a hard floor attachment captures fine dust more effectively than a broom without scattering allergens. For hardwood floors, sweeping works best to avoid potential vacuum damage. Corners and edges collect the most dust, so pay extra attention to these areas. Microfiber-based flat mops can remove remaining dust particles after initial sweeping. One sweep clean capability removes 99% of surface debris with a single swipe.
Choose the Right Mop for Your Floor Type
Matching your mop to your floor type prevents damage and improves cleaning results. Mops that use excessive liquid aren’t suitable for flooring with gaps or seams, including hardwood, laminate, vinyl tile, and vinyl plank floors. Spin mops and spray mops allow you to control liquid application, making them better options for these surfaces.
Microfiber mop heads endure 150-200 washes without degrading, while cotton typically lasts only 15-30 washes. Microfiber and polyfiber pad mops work on both hardwood and laminate floors. Steam mops suit sealed ceramic and porcelain tile floors but should never touch hardwood surfaces.
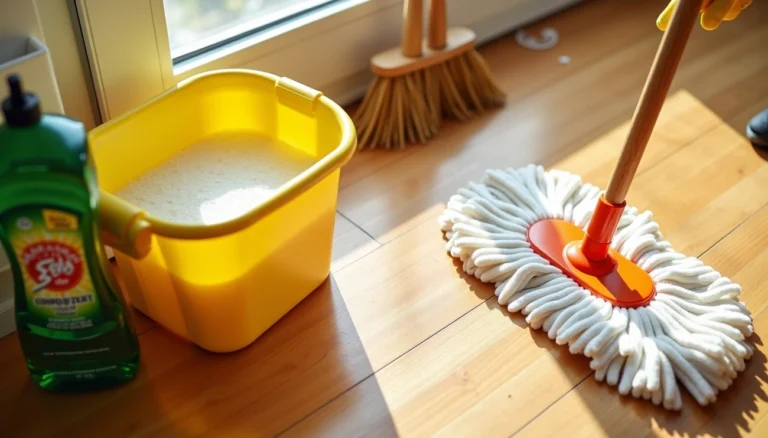
Prepare Your Cleaning Solution Correctly
Following dilution instructions prevents floor damage and maintains cleaning effectiveness. For natural cleaning, mix white vinegar with water in a 1:4 ratio. When using bleach, add 1/3 cup to one gallon of cool water. Always read ingredient lists and follow manufacturer instructions to prevent floor damage. Mixing cleaners causes chemical reactions that produce toxic fumes.
Avoid acidic or abrasive cleaners on laminate floors, as these strip the protective coating and ruin the finish.
Clear the Area of Obstacles
Remove furniture, rugs, mats, and moveable obstacles before you start. Rolling up mats prevents your mop from getting caught on edges and allows you to clean the entire floor surface. This step maximizes efficiency by eliminating the need to navigate around complicated obstacles during mopping.
Proper Mopping Technique: Step-by-Step Process
Executing proper mopping technique transforms how your floors look and how long they stay clean. These five steps ensure professional results.
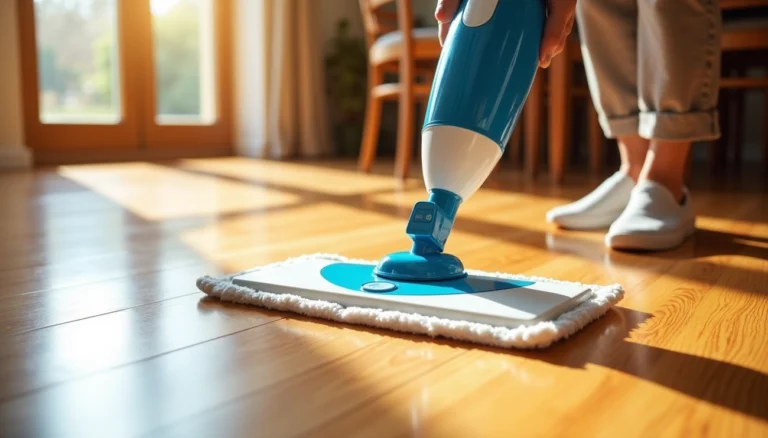
Start with a Damp Mop, Not Soaking Wet
Wring your mop until it stops dripping. A soaking wet mop floods floors, slows drying, increases slip risk, and damages water-sensitive surfaces like hardwood, laminate, and LVP edges. When you lift the mop, no water should drip. When applied to the floor, no puddles should form. Controlled moisture equals controlled drying and fewer streaks.
Use Long Straight Strokes in One Direction
Push the mop forward in long, straight passes from one end to the other. Lift and reset between passes rather than dragging the mop backwards. Short back-and-forth scrubbing spreads dirt across the floor and causes streaks. Long strokes with light, even pressure reduce overlap and maintain consistent coverage.
Work in Wide Sections from Back to Front
Think in wide lanes across the room rather than tiny squares. Start in the corner farthest from the door and work backwards toward the exit. This prevents you from walking on freshly cleaned wet floors, which creates footprints and undoes your work. Mopping in sections keeps your pace efficient and coverage uniform.
Apply Consistent Even Pressure
Uneven pressure leaves some areas inadequately cleaned while over-saturating others. Maintain consistent force throughout the mopping process to prevent streaks and ensure all parts receive equal attention. This technique prevents damage to delicate surfaces and ensures cleaning solutions spread evenly.
Change Dirty Mop Heads or Water Frequently
Once a mop head feels heavy or stops lifting dirt, change it. Never put a dirty cover back into clean solution, as that spreads grime. Change water when it becomes visibly stained by soiling. If you question whether water needs changing, you probably need to change it.
How to Mop Different Floor Types Correctly
Different flooring materials demand specific mopping approaches to prevent damage and maintain their appearance. What works for tile can ruin hardwood, whereas techniques safe for vinyl may harm laminate.
Mopping Hardwood Floors
Hardwood requires minimal moisture during mopping. Wring your mop until barely damp, as standing water causes warping, shrinking, cracking, and squeaking. Always mop following the wood grain to distribute cleaning solution evenly and prevent streaks. Use only pH-neutral hardwood floor cleaners. Avoid vinegar, ammonia, alkaline products, chlorine bleach, pine oil, undiluted vinegar, steam cleaners, and oil-based products, as these dull, scratch, or damage the finish. Dish soap or castile soap mixed with warm water works for light cleaning. Address spills immediately to prevent stains and permanent damage.
Mopping Tile and Grout
Tile floors handle moisture better than other surfaces, making them suitable for steam mopping on sealed ceramic and porcelain. For grout cleaning, create a paste using two parts baking soda to one part hydrogen peroxide. Apply directly to grout lines, allow five to 10 minutes of contact time, then scrub with a stiff-bristle brush in circular motions. Rinse thoroughly with clean water until all residue disappears.
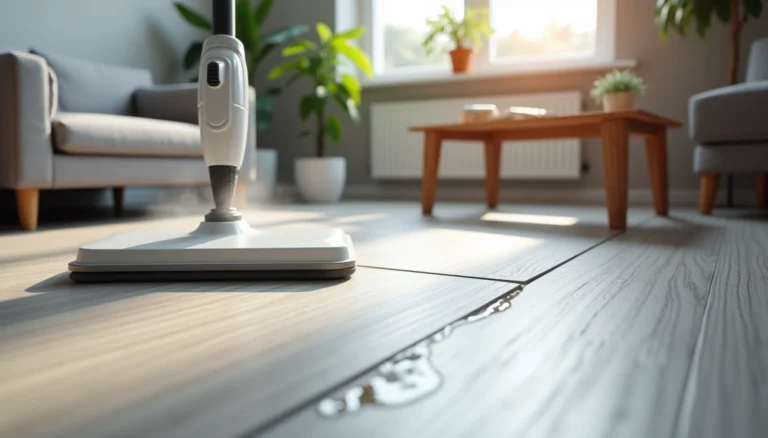
Mopping Laminate Floors
Laminate floors cannot withstand excessive moisture or steam mops unless specifically approved by the manufacturer. Use minimal water when mopping, as excess liquid causes planks to swell or seep into joints. Select cleaners formulated specifically for laminate. Avoid oil-based cleaners, waxes, floor polishes, and harsh abrasives.
Mopping Vinyl and LVP Floors
Vinyl offers water resistance, but not all vinyl is waterproof. Avoid soaking floors, as water may seep through cracks and cause bubbling or corner curl. For LVP, use pH-neutral cleaners only. Refrain from vinegar, as its acidity harms LVP flooring. Remove spills immediately by dabbing with a white cloth, even though LVP is 100% waterproof.
Common Mopping Mistakes and How to Avoid Them
Mistakes undo hours of mopping work and damage floors over time. Recognizing these five errors helps you maintain proper mopping technique.
Using Too Much Water or Cleaning Solution
You only need 1 millimeter of soapy water to lift dirt and eliminate germs effectively. Anything beyond that wastes product and risks floor damage. If floors take longer than 45 minutes to dry, you’re using too much water. Excess moisture seeps into cracks, causing hardwood to warp and laminate to bubble. Likewise, too much cleaning solution leaves sticky residue that attracts dirt. Follow dilution instructions precisely to prevent buildup.
Not Changing Dirty Water or Mop Heads
Change water when it becomes visibly stained. Bacteria levels actually increase after cleaning with reused dirty water. Dirty mop heads spread germs instead of removing them, creating health hazards in high-traffic areas.
Skipping the Pre-Cleaning Step
Vacuuming first removes up to 90% of dry debris. Without it, water turns loose dirt into muddy paste that scratches floors and stains grout.
Walking on Wet Floors Too Soon
Footprints and streaks ruin freshly mopped surfaces. Allow complete drying before walking on floors.
Using the Wrong Cleaner for Your Floor
Different floor types require specific pH-neutral cleaners. Wrong products strip finishes, cause discoloration, and void warranties. Always verify cleaner compatibility with your flooring material.
Conclusion
You now have all the knowledge needed to mop your floors like a professional. Remember, proper mopping starts with thorough preparation and ends with the right technique for your specific floor type.
By all means, avoid the common mistakes we covered, especially using too much water and skipping the pre-cleaning step. With consistent practice and these professional secrets, your floors will stay cleaner longer and look better than ever.
Keep mopping smart, and those spotless results will follow.