
Scratches After Mopping Mistakes and How to Prevent Them

Scratches after mopping usually happen because grit, residue, or too much moisture gets dragged across the floor. The safest fix is to clean with the right floor-specific method and prevent debris from reaching the mop in the first place. Related: floor scratches after mopping. Related: mopping mistakes. Related: scratched floors. Related: floor scuffs. Related: dirty mop water.
Scratches after mopping are frustrating because the floor often looks worse right after cleaning than before. In many cases, the problem is not the mop itself but grit, residue, excess moisture, or the wrong cleaning method for the floor type.
This guide breaks down the most common scratches after mopping mistakes, how to tell scuffs from real damage, and what to do next. If your floor also feels sticky or hazy after cleaning, you may want to compare it with why floors stay sticky after mopping, since residue and scratching often show up together.
- Grit is the main culprit: Loose dirt dragged by the mop can scratch or scuff the surface.
- Floor type matters: Wood, laminate, vinyl, tile, and stone each need different care.
- Too much cleaner can hurt: Residue may dull floors and make marks more obvious.
- Pre-clean first: Vacuuming or dust mopping helps prevent repeat damage.
- Ask for help when damage is deep: Swelling, peeling, or finish failure may need a pro.
Why Scratches Appear After Mopping: What’s Really Happening
Most mopping-related scratches happen when tiny particles get trapped between the mop and the floor. Instead of lifting dirt away, the mop can drag grit across the surface like very fine sandpaper.
That risk increases when the mop water is dirty, the cleaner leaves residue, or the floor is not pre-cleaned first. A wet mop can also spread grit around, which is why proper drying matters too; see how to dry a floor after mopping if you want to reduce streaks and slipperiness at the same time.
How water, grit, and residue turn a simple mop into a floor-scratching problem
Water loosens soil, but it does not remove all debris on its own. If dust, pet hair, or tiny stones are still on the floor, the mop may push them in circles rather than pick them up.
Residue can make matters worse. A cleaner that is too concentrated, or one that is not compatible with the floor finish, can leave a film that dulls the surface and makes scratches more visible.
Signs the damage is surface scuffing versus true scratches
Light scuffs often sit on top of the finish and may wipe away with a damp microfiber cloth. True scratches usually catch your fingernail, show a clear line, or remain visible after cleaning.
On glossy floors, scuffs can look dramatic even when the finish is intact. On matte floors, small scratches may be harder to spot but easier to feel underfoot.
Floor Types Most at Risk from Mopping Mistakes
Every floor reacts differently to water, abrasion, and cleaner residue. That is why a method that works on one room may damage another.
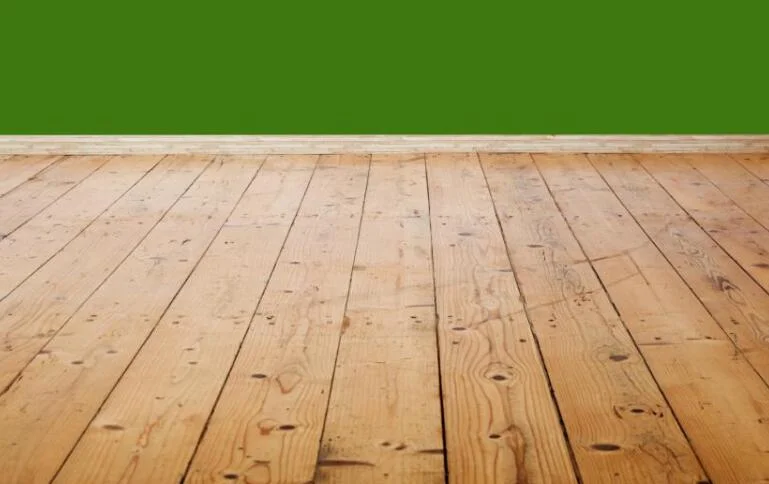
Hardwood and engineered wood: finish wear, swollen seams, and micro-scratches
Wood floors are especially vulnerable when too much water gets into seams or when abrasive debris is dragged across the finish. Even if the boards do not warp, the protective top layer can develop tiny scratches and dull patches.
Engineered wood can be more stable than solid hardwood, but it still has a finish that can be worn down. If you mop hardwood often, it helps to follow a floor-specific routine like the one in how often you should mop hardwood floors.
LVP and laminate: abrasion, dull patches, and worn wear layers
Luxury vinyl plank and laminate usually resist moisture better than wood, but they are not scratch-proof. Repeated dragging of grit can dull the wear layer and create patchy areas that look cloudy under light.
Laminate is especially sensitive at edges and seams. If water sits too long, it can cause swelling or lifting, which can be mistaken for scratch damage at first glance.
Tile, stone, and grout: trapped grit, etching, and residue buildup
Ceramic and porcelain tile are harder surfaces, but they can still show scratches in the glaze or on polished finishes. Textured tile can trap grit in grooves, making the floor look scratched even when the issue is soil buildup.
Natural stone is more delicate than many people expect. Some cleaners can etch the surface instead of scratching it, which leaves a dull mark that needs a different fix than a normal scuff.
Common Scratches After Mopping Mistakes Homeowners Make
Most floor damage after mopping comes from a few repeatable mistakes. The good news is that these are usually preventable once you know what to look for.
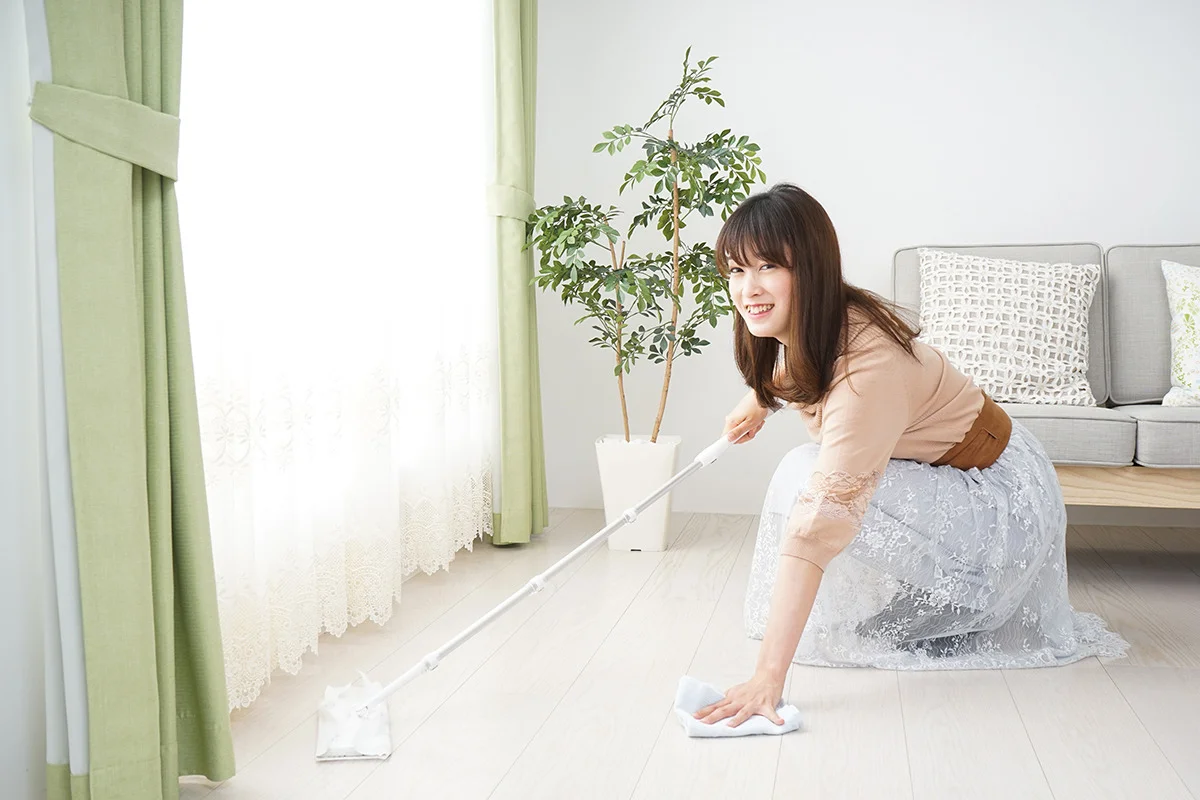
Using a dirty mop head or reusing dirty water
A mop head full of trapped grit can scratch every square foot it touches. Reusing dirty water spreads that grit back onto the floor, which means you are cleaning and abrading at the same time.
If the mop smells stale, looks gray, or leaves behind streaks, it is probably carrying too much soil. For a deeper cleaning habit that supports better floor care, review weekly mopping mistakes so you can avoid repeating the same buildup cycle.
Choosing the wrong cleaner, too much solution, or harsh chemicals
More cleaner does not mean more protection. Overmixing can leave a sticky film that attracts dust, while harsh formulas may dull finishes or strip protective coatings over time.
This is especially important on wood, laminate, and stone. Always check whether the product is labeled for your floor type, and when in doubt, test it in a small hidden area first.
Do not assume one “all-purpose” floor cleaner is safe for every surface. A product that works on tile may leave residue on wood or damage a delicate stone finish.
Dragging debris instead of sweeping or vacuuming first
Mopping should be the final step after loose debris is removed. If you skip sweeping or vacuuming, the mop simply pushes grit around and increases the chance of visible scratches.
This is one of the most common reasons floors look worse after cleaning. A quick dry-clean step often does more to prevent damage than changing mop brands. [Source: Wikipedia]
Using abrasive pads, stiff brushes, or old microfiber that traps grit
Scrubbing pads and stiff brushes can be useful for spot cleaning, but they are risky on finished floors. Old microfiber can also become rough if it is worn out or loaded with embedded dirt.
Choose soft, clean mop heads that rinse well and release debris easily. If your mop head is hard to fully clean, consider replacing it before it starts acting like sandpaper.
How to Mop Without Scratching Floors: A Floor-by-Floor Approach
The safest mopping method depends on the floor surface, its finish, and how much traffic the room gets. A gentle routine is usually better than a heavy-handed one.
Best cleaning methods for hardwood and engineered wood in 2025
For wood floors, use a well-wrung microfiber mop and a cleaner made for finished wood. The mop should feel barely damp, not wet enough to leave standing water.
Work in small sections and dry as you go if the room has humidity, sunlight, or older seams. If you are unsure whether a wet-cleaning method is appropriate at all, it may be worth asking a flooring professional before using a new product.
Safe mopping practices for laminate and luxury vinyl plank
Laminate and LVP usually tolerate light damp mopping, but they do not need soaking. Use a soft mop pad, a mild cleaner, and enough pressure to lift dirt without pressing debris into the surface.
Avoid steam unless the manufacturer specifically allows it. Heat and moisture can create edge damage or weaken adhesives in some products, even when the top surface looks fine at first.
What to use on tile, sealed stone, and textured surfaces
Tile can handle more moisture than wood, but grout and textured surfaces still need care. A microfiber mop or soft flat mop works well for routine cleaning, while a soft brush may be needed for grout lines only.
For sealed stone, use a pH-neutral cleaner that is designed for stone care. If the stone is polished, be extra cautious with abrasive tools, because they can leave a dull trail that is hard to reverse.
Practical examples of proper mop pressure, moisture level, and drying time
A good rule is to let the mop glide, not scrub. If you have to press hard to lift dirt, the floor probably needs more pre-cleaning first.
The mop should leave the surface lightly damp at most. If puddles remain after a pass, the floor is getting too much water and may be at higher risk for streaking, swelling, or residue marks.
Rinse or refresh the mop pad as soon as it starts picking up visible dirt. A clean pad is one of the simplest ways to avoid dragging grit across the floor.
How to Prevent Repeat Damage Before You Mop Again
If scratches keep showing up after mopping, prevention starts before the bucket comes out. A few small habits can make a big difference in how your floor looks over time.
Pre-cleaning steps: vacuuming, dust mopping, and spot-checking for grit
Start with a vacuum or dust mop to remove loose soil, especially near doors, baseboards, and under chairs. These are the places where grit tends to collect and later get dragged around.
It also helps to spot-check for tiny stones, dried spills, or furniture debris before mopping. Those small pieces are often the real cause of visible scratches after mopping mistakes.
- Vacuum or dust mop first
- Inspect high-traffic areas for grit
- Use a clean mop pad and fresh water
- Keep the mop only lightly damp
- Dry the floor if the surface needs it
Choosing the right mop type, cleaner, and dilution ratio
Flat microfiber mops are often a safe choice because they spread pressure evenly and pick up fine dust well. String mops can work, but they are more likely to leave excess water behind if they are not wrung out carefully.
Follow the dilution instructions on the cleaner, and do not assume extra solution improves results. If the label is unclear for your floor type, choose a gentler product or check the manufacturer’s care guidance.
| Method / Product | Best For | Be Careful With |
|---|---|---|
| Microfiber flat mop | Most finished floors, light routine cleaning | Very dirty floors if the pad is not changed often |
| pH-neutral floor cleaner | Tile, sealed stone, many vinyl floors | Unsealed wood or floors with special finish requirements |
| Wood-specific cleaner | Finished hardwood and engineered wood | Overwetting seams or using on stone |
| Soft brush spot cleaning | Grout lines and textured tile | Polished stone and delicate finishes |
Protective habits that reduce future scratching, including felt pads and entry mats
Entry mats catch a surprising amount of grit before it reaches the floor. Felt pads under furniture legs also help reduce the chance that small movements become permanent marks.
These habits matter most in homes with pets, kids, or frequent foot traffic. If your floors get dirty quickly, a better routine may help more than mopping more often.
Repairing or Reducing Existing Scratches After Mopping
Once a scratch appears, the next step is figuring out whether it is a removable scuff or actual floor damage. That decision determines whether you clean, touch up, polish, or call for repair.
When light scuffs can be cleaned off versus when they are permanent
Scuffs that sit on top of the surface often come off with a soft cloth, a small amount of approved cleaner, or a damp microfiber pad. If the mark disappears when you rub it gently, it was likely residue or transfer, not a scratch.
Permanent scratches usually remain visible after cleaning and may show a change in texture. If the finish is broken, repeated cleaning will not fix it and may make the area more noticeable. [Source: This Old House]
DIY touch-up options for minor marks on wood, vinyl, and tile
On wood, minor surface marks may respond to a manufacturer-approved touch-up marker or a finish repair product. On vinyl or laminate, some small scuffs can be reduced with a gentle cleaner and a soft cloth, but deep wear-layer damage is harder to hide.
Tile can sometimes be improved with careful residue removal if the “scratch” is actually a film. If the glaze is chipped or etched, though, the repair approach is usually different and may be more limited.
When polishing, refinishing, or replacing sections may be the better option
If scratches are widespread, polishing or refinishing may make more sense than repeated spot fixes. For wood, refinishing is often the long-term answer when the finish has worn down across a large area.
For laminate and many vinyl products, damaged planks or sections may need replacement instead of refinishing. This is one of those cases where a flooring professional can help you avoid spending money on the wrong fix.
Small marks are often cosmetic, but repeated scratching can signal a bigger cleaning or maintenance problem. If the same area keeps getting damaged, look for grit entry, moisture issues, or a product mismatch.
When to Call a Flooring Professional
Some scratch problems are simple cleaning issues, but others point to finish failure or water damage. When the floor surface changes shape, swells, or starts peeling, a professional assessment is usually the safer choice.
Warning signs of deep scratches, finish failure, swelling, or water damage
Call for help if scratches are deep enough to expose a different layer, if boards cup or swell, or if the floor feels soft in spots. Peeling finish, cloudy patches that do not clean off, and persistent edge lifting are also warning signs.
If the damage appeared after a wet mopping mistake and has not improved as the floor dried, the issue may be more than a surface mark. Water intrusion can spread beyond the visible area.
What a flooring pro can diagnose that DIY cleaning cannot
A flooring professional can tell the difference between a residue problem, a finish problem, and structural damage. That matters because each one needs a different repair approach.
They can also identify whether a product or cleaning method may affect a warranty or future refinishing options. If the floor is expensive, unusual, or newly installed, that guidance can save time and avoid accidental damage.
Typical repair cost considerations compared with replacement
Minor cleaning and touch-up work is usually less involved than replacing boards or sections, but the right choice depends on the material and the extent of the damage. Deep scratches across multiple rooms may make replacement or refinishing more practical than repeated patching.
For costly floors, a professional inspection can help you choose the most economical path over time. A quick diagnosis is often cheaper than fixing the wrong problem twice.
Final Takeaway: The Smartest Way to Avoid Scratches After Mopping
Most scratches after mopping mistakes come from trapped grit, too much water, the wrong cleaner, or using a mop that is too abrasive for the floor. The safest routine is simple: remove debris first, use the right cleaner in the right amount, and keep the mop soft and lightly damp.
If your floor type is wood, laminate, vinyl, tile, or stone, match the method to the surface instead of using one routine everywhere. When the damage looks deep, swollen, or uncertain, ask a flooring professional before trying stronger cleaning or repair methods.
Recap of the biggest mistakes to avoid and the safest floor-care habits to follow
Do not mop over grit, reuse dirty water, or overapply cleaner. Do use a clean microfiber pad, follow floor-specific instructions, and dry the surface when needed.
Quick decision guide for matching your cleaning method to your floor type
If the floor is wood, choose the gentlest damp-cleaning method. If it is laminate or LVP, keep moisture low and avoid harsh tools; if it is tile or sealed stone, use a compatible cleaner and watch for residue or etching.
Frequently Asked Questions
Most often, the mop dragged grit, dirt, or residue across the surface. In some cases, the marks are scuffs or film buildup rather than true scratches.
Yes. Dirty water can redeposit grit and make the mop act like an abrasive pad. Fresh water and a clean mop head reduce that risk.
Hardwood, engineered wood, laminate, and some vinyl floors are more vulnerable to mopping mistakes. Tile and stone are tougher, but they can still show residue, etching, or glaze wear.
A scuff often wipes away with a soft cloth or approved cleaner. A real scratch usually remains visible and may feel rough or catch a fingernail.
No. Too much cleaner can leave residue that attracts dirt and makes floors look dull or streaky. Follow the label and use the dilution recommended for your floor type.
Call a professional if scratches are deep, the floor is swelling, finish is peeling, or water damage is suspected. They can diagnose whether the problem is surface-level or structural.
