How to Mop with Pine-Sol: The Ultimate Guide for Streak-Free Floors
Mop with Pine-Sol by mixing ⅛ cup (1 fluid ounce) of Pine-Sol™ Multi-Surface Cleaner with 1 gallon (3.8 liters) of warm water. For heavy-duty cleaning, use ¼ cup per gallon. Dip the mop, wring it until damp, and mop the floor. Rinse with clean water after heavy soils to prevent residue.
What You Need Before You Start
Proper preparation makes mopping floors faster and more effective. Before you begin, gathering the right supplies and understanding your specific floor requirements prevents mistakes that lead to streaking or damage.
Pine-Sol Multi-Surface Cleaner
Pine-Sol now comes in a concentrated formula that’s 2x stronger, lasting twice as long. This matters because your dilution ratio depends on which version you own. The concentrated formula requires less product per gallon of water.
For the concentrated Pine-Sol, dilution ratios are:
- ⅛ cup in 1 gallon water
- ¼ cup in 2 gallons water
- 1 tablespoon in ½ gallon water
For non-concentrated Pine-Sol, double these amounts: ¼ cup per gallon or ½ cup per 2 gallons. Check your bottle label to identify which formula you have.
Pine-Sol Original Multi-Surface Cleaner works well for most mopping tasks, but you can choose from Lemon Fresh, Lavender Clean, or Sparkling Wave scents. Each delivers the same cleaning power with different fragrances.
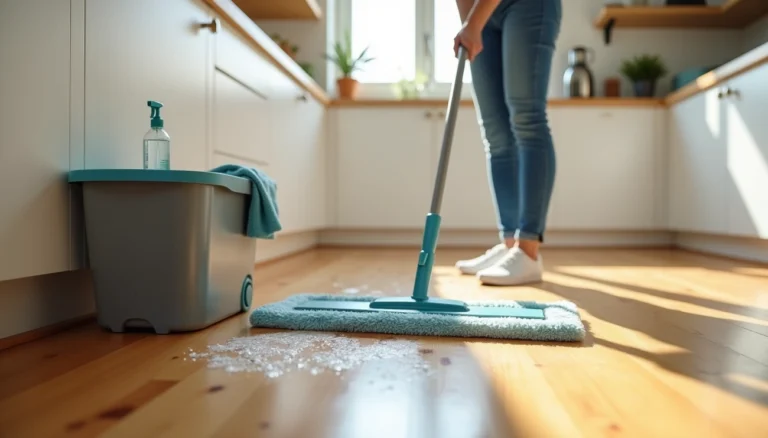
Essential Mopping Supplies
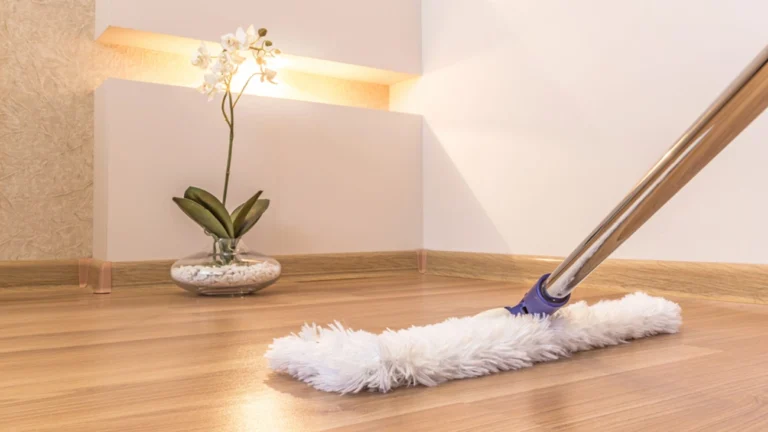
Your mop choice affects results significantly. Microfiber mops attract dirt and lock it in for streak-free cleaning. They work particularly well on hardwood and laminate since they hold less water. Sponge mops or flat mops also perform well depending on your floor type.
Beyond the mop itself, you need a bucket for mixing solution, a measuring cup for accurate dilution, and either a broom or vacuum cleaner[72]. Removing loose dirt first prevents you from pushing debris around during wet mopping.
Microfiber cloths come in handy for drying floors immediately after mopping, which helps prevent water spots. A mop with a wringer mechanism lets you control moisture levels precisely.
Checking Your Floor Type
Pine-Sol cleans most sealed surfaces safely, but never use it on marble, aluminum, copper, or wood that’s unfinished, unsealed, unpainted, waxed, oiled, or worn.
Testing sealed floors takes seconds. Drip a small amount of water on an inconspicuous spot. If the water beads up, your seal remains intact. If it soaks in, your floors are unsealed and shouldn’t be cleaned with liquid products like Pine-Sol.
Laminate and vinyl floors tolerate Pine-Sol when properly diluted and applied with a damp (not soaking) mop. Sealed wood floors require extra care with thorough mop wringing to avoid excess moisture.
Step-by-Step Guide: How to Mop the Floor with Pine-Sol
Following a systematic approach ensures you achieve professional results without streaks or residue.
Step 1: Sweep or Vacuum First
Remove all loose dirt and debris before wet mopping begins. Skipping this step causes scratches when particles get dragged across wet surfaces. Vacuuming provides the most thorough cleaning, especially in corners, along baseboards, and under furniture where dust collects. For quick touch-ups, a soft-bristled broom works by sweeping toward the room’s center.
Step 2: Mix Pine-Sol with Water
Mix ⅛ cup of Pine-Sol Multi-Surface Cleaner with one gallon of warm water. This dilution ratio applies to the concentrated formula. Use a measuring cup for accuracy rather than eyeballing the amount. Fill your bucket with the water first, then add the Pine-Sol to ensure proper mixing.
Step 3: Wring Out Your Mop Properly
Dip your mop in the solution, then wring it out until damp but not saturated. The mop should leave floors looking wet without any puddles of water. Spin mops feature foot pedal-activated wringers to control moisture levels precisely. Excess water damages floors and creates slippery conditions.
Step 4: Mop in Sections
Start in the corner farthest from the exit door to avoid walking on freshly cleaned areas. Work in small 4×4 foot sections for better control. Use overlapping strokes with light, even pressure. If using a sponge mop, make straight passes; with a string mop, use circular motions.
Step 5: Rinse Your Mop
Rinse the mop head after cleaning each section to remove collected dirt. Wring out excess water before dipping into cleaning solution again. Replace the rinse water when it becomes visibly dirty.
Step 6: Do a Final Rinse Pass
After mopping with cleaning solution, make a final pass with clean water only. This removes soap residue that causes streaks or attracts dirt. Rinse your mop thoroughly in fresh water and wring it out until just damp.
How to Achieve Streak-Free Floors
Streak-free results depend more on technique than the cleaner itself. Even with proper dilution, small errors in water control, product usage, and drying create cloudy residue or water marks.
Use the Right Amount of Water
Excess water seeps into cracks and seams, causing wood to warp, laminate to swell, and grout to weaken. Particularly on hardwood and laminate, prolonged moisture exposure creates permanent damage. Your mop should leave floors damp but never dripping. Wring thoroughly before each pass so no puddles form. A microfiber mop controls moisture better than string or sponge mops, which hold too much water.
Avoid Product Buildup
Using too much Pine-Sol floor cleaner creates the biggest misconception about mopping floors. In reality, excess cleaner leaves a sticky film that attracts dirt and creates cloudy streaks. Follow the ⅛ cup per gallon ratio precisely. Additionally, change your water frequently during mopping. Dirty water redistributes grime across floors rather than lifting it. For average-sized rooms, empty and refill your bucket at least once.
Work in Small Areas
Divide floors into 5×5 foot sections for better control. Mop one area, then immediately move to the next without letting water sit. Use an S-pattern for best coverage without skipping spots. This prevents solution from drying before you finish, which causes streaking. Working systematically also ensures even cleaning without over-saturating certain areas.
Let Floors Dry Completely
Floors should dry within 15-30 minutes when mopped correctly. If water remains visible after 30 minutes, dry it immediately with a towel to prevent water spots and damage. Open windows or use fans to speed drying. Avoid walking on floors until completely dry to prevent footprints and streaks.
Common Mopping Mistakes and How to Fix Them
Even experienced cleaners make errors when mopping floors. Recognizing these mistakes helps you correct them before they damage surfaces or waste effort.
Using Too Much Pine-Sol Floor Cleaner
Overusing Pine-Sol floor cleaner leaves sticky residue that attracts dirt and creates dull, cloudy streaks. This happens because excess cleaner can’t evaporate properly and bonds with moisture in the air. Stick to the ⅛ cup per gallon ratio precisely. If floors feel sticky after mopping, you’ve used too much product.
Skipping the Pre-Clean Step
Mopping without vacuuming first turns loose debris into muddy paste that spreads across surfaces. Vacuuming removes up to 90% of dry particles, specifically preventing sand and grit from scratching floors during wet mopping. Besides protecting your surfaces, pre-cleaning keeps mop water cleaner longer.
Not Rinsing Properly
Some floor cleaners claim “no rinse required,” but they still leave behind residue if not rinsed, making hardwoods or laminates look dull or streaky. Make a final pass with clean water only to remove lingering soap film. This step prevents floors from becoming sticky and attracting new dirt.
Mopping with Dirty Water
When bucket water turns gray or cloudy, you’re no longer cleaning but spreading soil and bacteria around. Change water when it becomes murky. Similarly, failing to rinse your mop head between sections reintroduces grime back onto floors.
Conclusion
You now have everything you need to mop with Pine-Sol and achieve those streak-free, beautifully clean floors. The secret isn’t complicated: proper dilution, controlling moisture, and working systematically make all the difference.
Most importantly, remember that ⅛ cup per gallon goes a long way. Avoid the temptation to add extra cleaner, and always finish with a clean water rinse. Follow these steps consistently, and your floors will look professionally cleaned every single time.