
Mop slate floors by using a soft mop with warm water and a pH-neutral cleaner or mild dish soap. Wring the mop until damp, not soaking, to prevent water damage. Avoid acidic cleaners like vinegar, lemon, or bleach, which damage stone. Sweep or vacuum regularly to remove abrasive dirt.
What You Need Before You Start Mopping Slate Floors
Gathering the right supplies before you start will protect your slate from unnecessary damage and make the job more efficient.
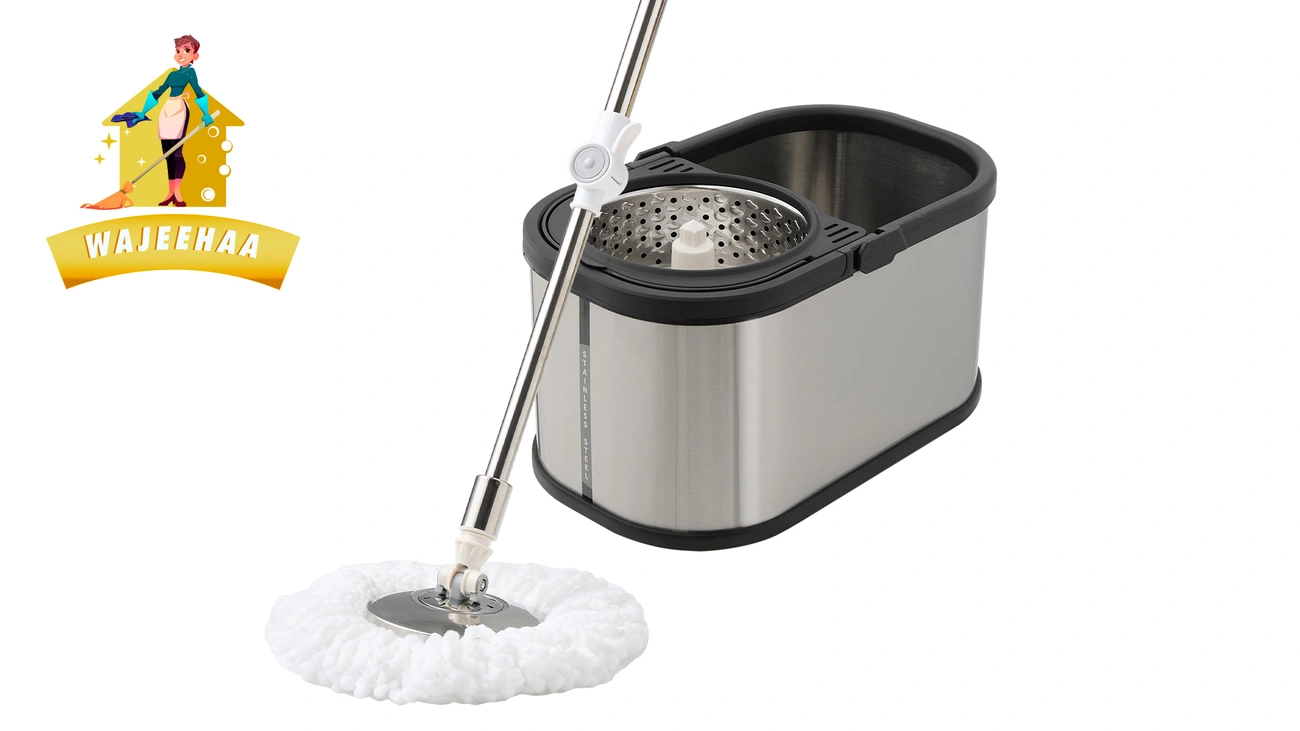
The Right Mop for Slate
A heavy-duty Kentucky mop stands out as the best choice for slate floor cleaning. This mop type works well with slate’s textured surface while providing adequate coverage. Alternatively, soft-bristled mops or microfiber options deliver gentle yet effective cleaning without scratching the stone. Microfiber mops lift dirt effectively from slate’s natural clefts and grooves.
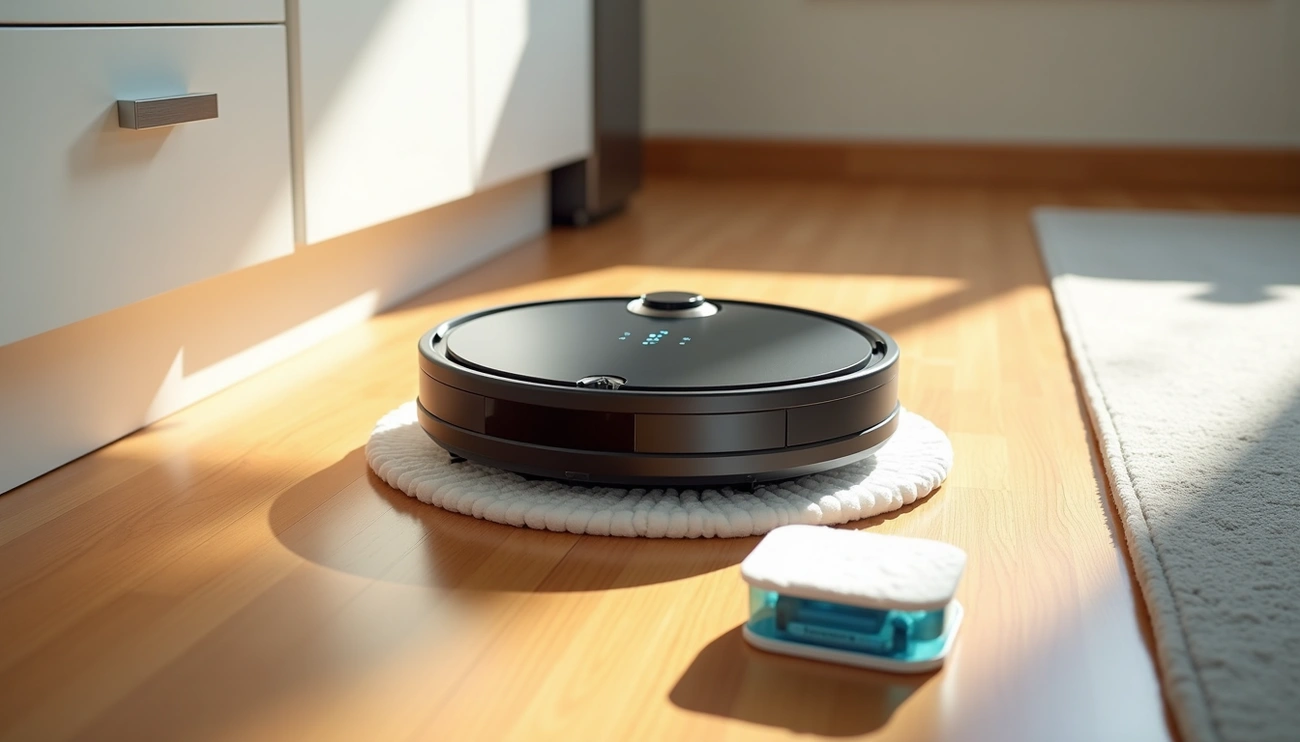
For those seeking modern convenience, flat mops with wide designs cover more ground per pass. Look for models with 360-degree rotating heads that reach corners and tight spaces easily. The washable, reusable covers eliminate the problem of dragging dirty mop water across clean areas.
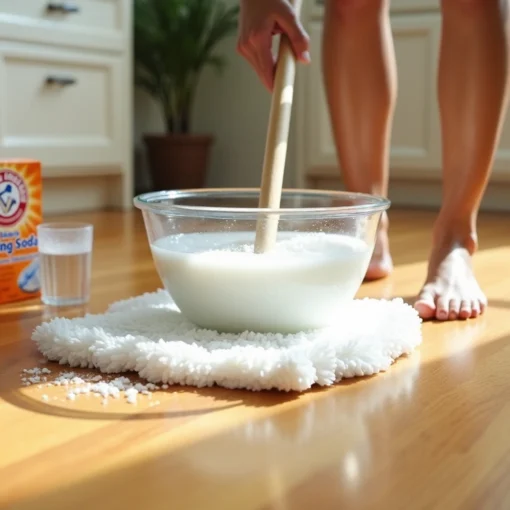
pH-Neutral Cleaning Solutions
Slate requires pH-neutral cleaners specifically formulated for natural stone. These products clean effectively without harming the stone or breaking down protective sealants. Commercial stone cleaners work well, as does a simple mixture of mild dish soap with warm water (about 1/4 cup soap to 1 gallon of water).
Never use these on slate floors:
- Acidic cleaners like vinegar or lemon juice
- Harsh chemicals such as bleach
- Abrasive powders or scouring pads
- Oil-based soaps
These substances etch the stone, strip protective sealants, and cause permanent discoloration. Always test any new cleaning solution on an inconspicuous area first to check for adverse reactions.
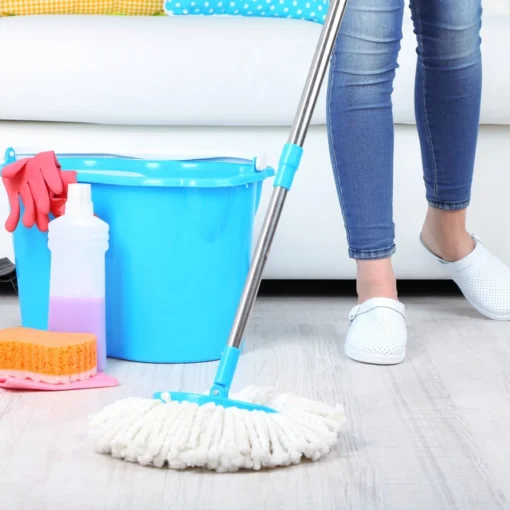
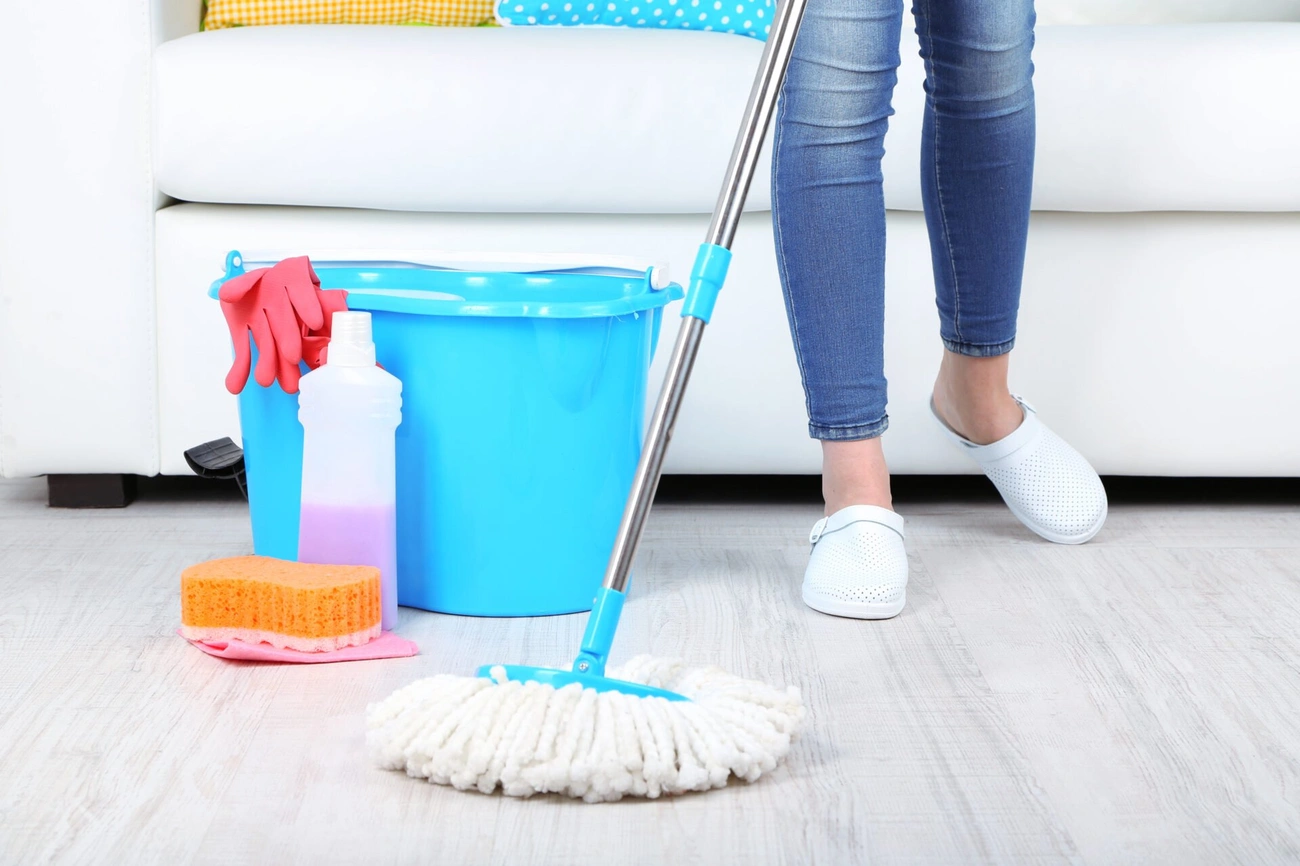
Buckets and Water Management
A ladybug bucket paired with your mop helps prevent over-wetting, which damages slate. The built-in wringer reduces moisture on the mop head before you touch the floor. For enhanced efficiency, dual-chamber bucket systems separate dirty water from clean water. This ensures you’re always mopping with fresh solution rather than spreading dirt around.
Protective Tools and Accessories
Beyond cleaning supplies, protective accessories extend the life of your slate floors. Felt pads or silicone coasters under furniture legs prevent scratches while showcasing your beautiful floors. Quality entrance mats placed on both sides of exterior doors capture dirt and grit before it reaches your slate. Keep microfiber cloths handy for buffing high-traffic areas during the drying process.
How to Mop Slate Floors: Step-by-Step Process
Follow this systematic approach to clean your slate floors without causing damage.
Step 1: Remove Loose Dirt First
Sweep the floor thoroughly with a soft-bristled broom or vacuum using the soft brush attachment. Dirt and grit act like sandpaper when dragged across slate during mopping. Pay close attention to grout lines, where debris accumulates and becomes trapped. Avoid vacuum beater bars, as the stiff rotating bristles scratch slate’s natural surface.
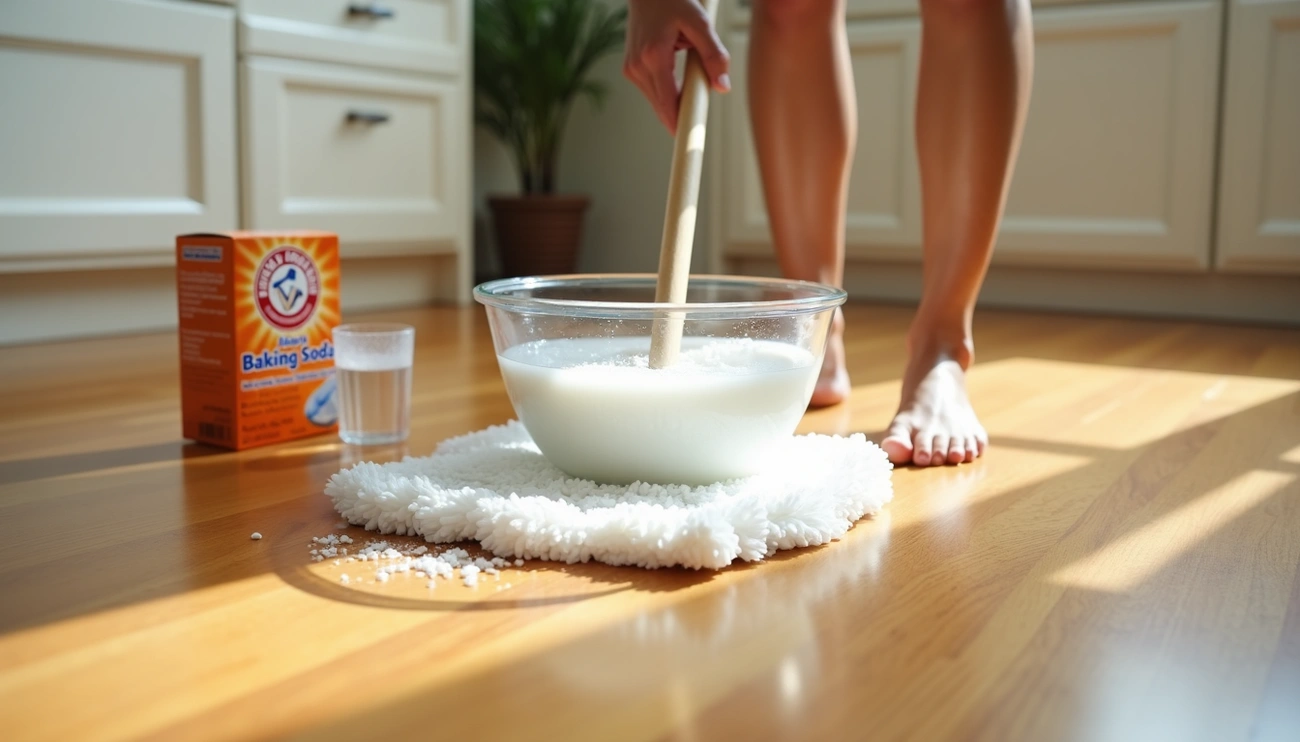
Step 2: Prepare Your Mopping Solution
Fill a bucket with warm water and add a few drops of mild dish soap or dilute your pH-neutral stone cleaner according to label directions. A ratio of 1/4 cup detergent to one gallon of warm water works well. Test any new cleaning solution on an inconspicuous area first to check for discoloration or etching.
Step 3: Wring Out Excess Water
Dip your mop into the cleaning solution, then wring it out thoroughly until damp but not soaking wet. Excessive moisture seeps into slate and causes issues, even when properly sealed. Your mop should barely drip when lifted from the bucket.
Step 4: Mop in Sections Following the Grain
Work in manageable sections, mopping with the grain of the slate. Follow the grout lines as you move across the floor. Rinse the mop frequently in clean water to prevent spreading dirt around. Change your cleaning solution whenever the water becomes filthy.
Step 5: Rinse Away Cleaning Residue
Once you’ve mopped the entire floor, refill your bucket with clean water. Use a clean mop to rinse away any cleaning solution residue. This prevents a film from forming on the slate after drying.
Step 6: Dry the Floor Completely
Allow the floor to air dry completely. Good airflow helps moisture evaporate evenly, preventing streaks and water marks. Speed up drying in high-moisture areas by using a clean, soft towel or microfiber cloth to buff the surface.
Common Mopping Mistakes That Damage Slate Floors
Even experienced homeowners make slate floor cleaning errors that cause irreversible damage. Understanding these pitfalls helps you avoid costly repairs.
Using Too Much Water
Slate absorbs moisture, which leads to water spots, mineral deposits, and long-term structural damage. Leaving puddles on the surface allows water to penetrate the stone, especially if your sealant has started wearing thin. The rule remains simple: clean damp, not wet. Whereas a soaking mop seems more effective, it actually damages your floors. Wring out your mop thoroughly before each pass across the slate.
Choosing the Wrong Cleaning Products
The wrong cleaning solution permanently damages slate. Bleach burns the surface and causes patchy discoloration. Vinegar eats into the stone, dulls the finish, and leads to etching. Steam cleaners generate excess heat that degrades the sealer, leaving tiles unprotected. All acidic cleaners break down the protective sealer, cause uneven dull patches, and shorten the lifespan of your floor’s finish. Abrasive cleaners create deep, irreversible scratches. For instance, mixing too much cleaner with water leaves a sticky film that attracts dirt rather than cleaning effectively.
Skipping the Drying Step
Allowing dirty water to air-dry on slate creates frustrating streaks and a hazy finish. Without proper drying, moisture sits on the surface and causes water marks. Good airflow helps moisture evaporate evenly. Air drying protects the sealer and prevents dulling or streaking. Speed up the process by lightly buffing high-traffic areas with a clean microfiber cloth.
Mopping Without Removing Debris First
Dust, grit, and pet hair act as tiny abrasive particles. When you drag them across slate while mopping, you slowly create fine scratches that build up over time. This mistake reduces cleaning effectiveness and increases wear on your floors. Always sweep or vacuum before mopping to remove these damaging particles.
Pro Tips to Keep Your Slate Floors Looking New
Maintaining your slate floors requires consistent care beyond the basic mopping routine.
How Often to Mop Slate Floors
For residential slate floors, plan to mop at least once a week. High-traffic areas demand more frequent attention. Sweep or vacuum two to three times weekly to prevent dust and grit accumulation. In fact, during wet weather, increase mopping frequency as more dirt gets tracked indoors. Commercial spaces need different schedules: light traffic areas twice weekly, heavy traffic zones daily.
Treating Stubborn Stains While Mopping
Grease and oil stains respond well to targeted treatments. Apply a 1:1 ratio of hydrogen peroxide and water, let it sit for 10 minutes, scrub, and rinse. For stubborn spots, mix 1/4 cup rubbing alcohol with 4 cups water and scrub with a soft bristle brush. Address spills immediately to prevent absorption into the porous stone.
When to Reseal After Mopping
Reseal your floors every 1 to 2 years for most residential installations. Perform a simple water bead test: drip water on the floor and check how long the damp spot takes to disappear. If it exceeds 10 minutes, resealing is needed. High-traffic or moisture-exposed areas may require annual resealing.
Protecting High-Traffic Areas
Place mats at entrances on both inside and outside to capture dirt before it reaches your slate. Clean these mats daily and never place them on wet surfaces.
Conclusion
You now have everything you need to mop your slate floors like a professional. From choosing the right pH-neutral cleaners to avoiding common mistakes that cause permanent damage, these techniques will keep your floors looking beautiful for years.
Remember, the key to stunning slate floors is consistency and using proper mopping methods. Keep your floors swept, use minimal water, and stick to gentle cleaners. Your slate will reward you with lasting shine and timeless elegance.
