
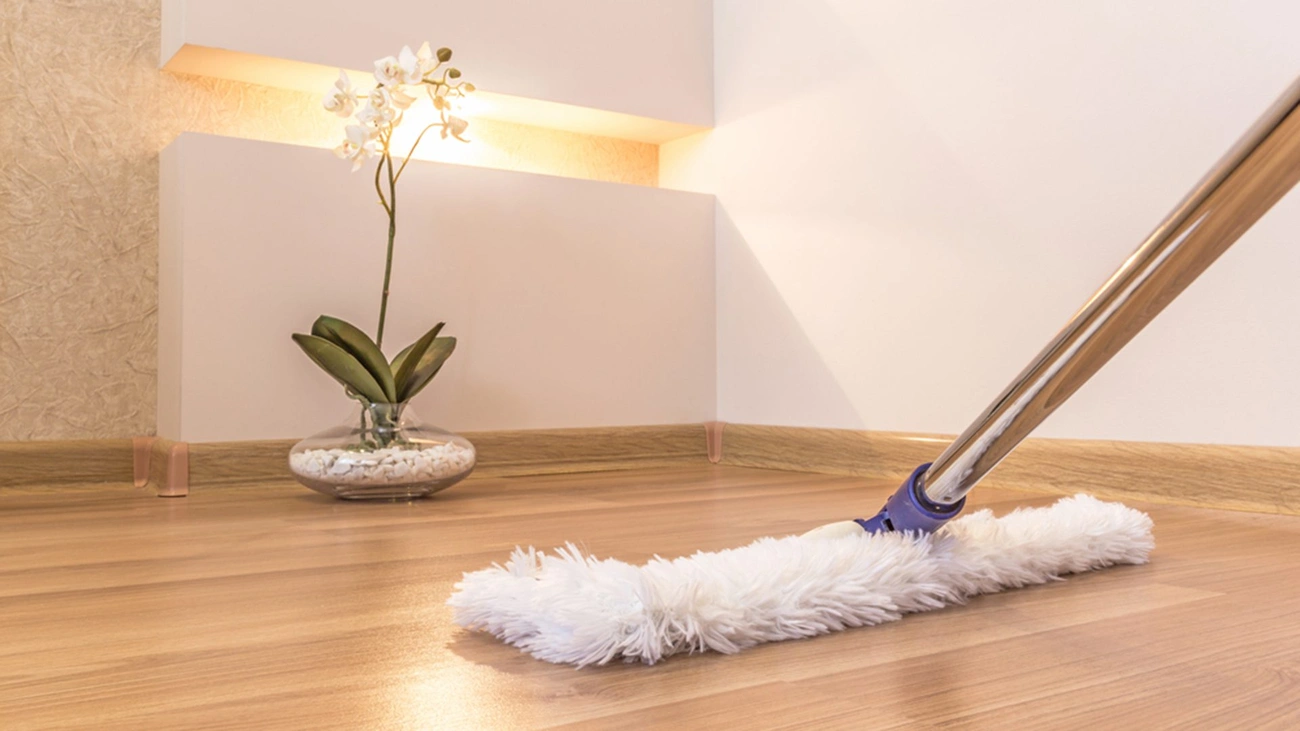
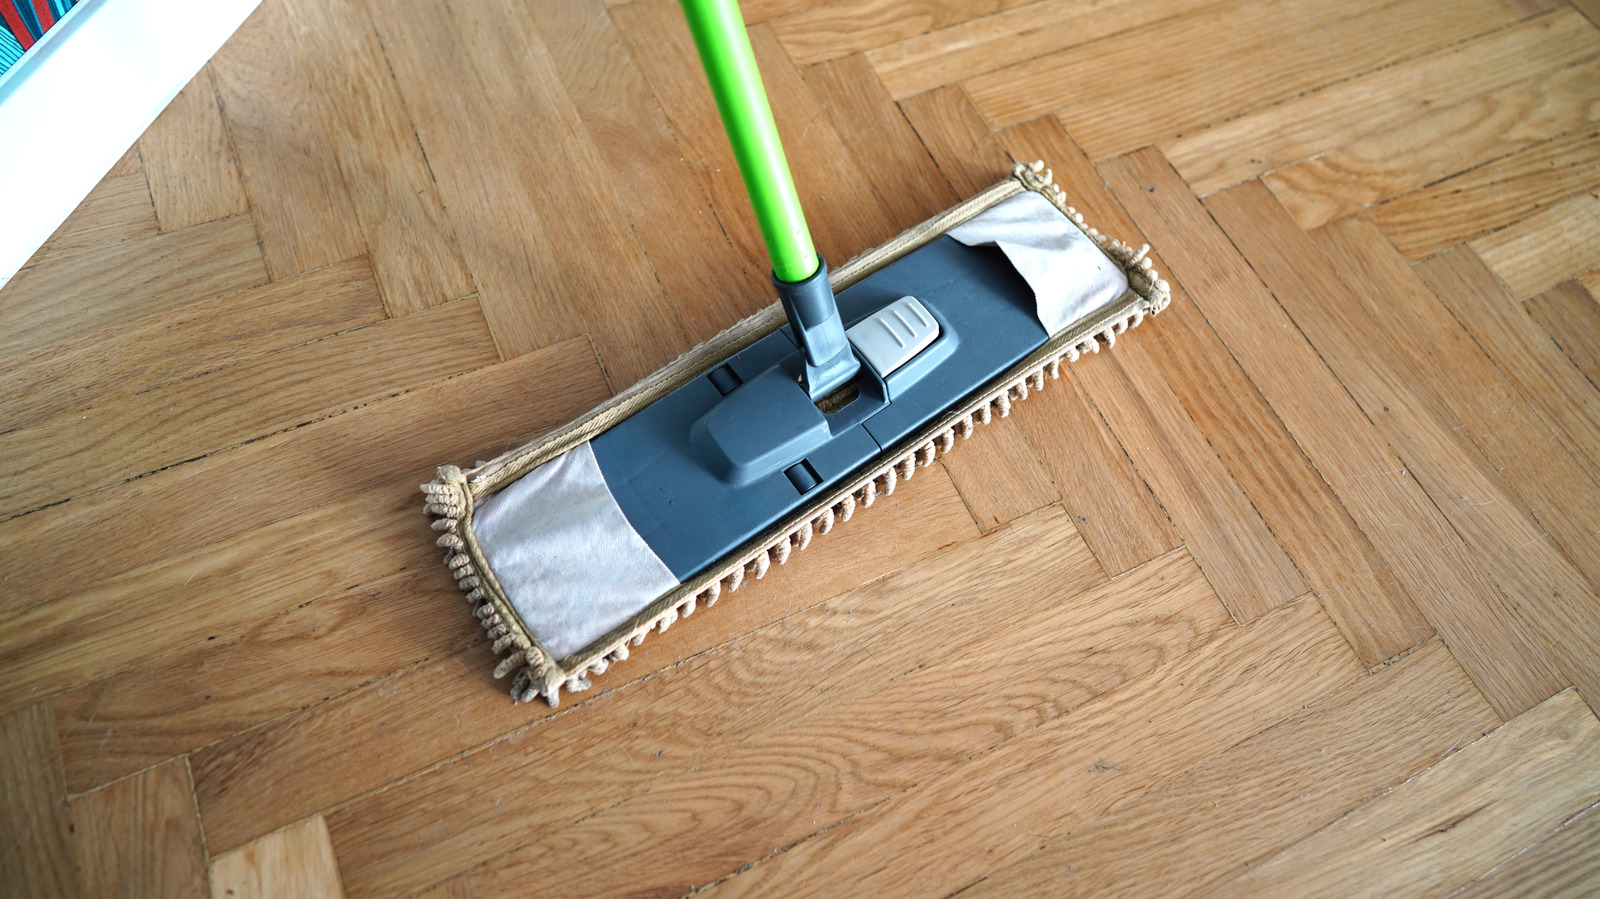
Use a dust mop by assembling a clean, dry mop and keeping the head flat on the floor. Start at the farthest corner and push debris forward using straight, overlapping lines in a figure-8 motion. Shake out the mop frequently to prevent redepositing dust and maintain effective debris removal.
What Is a Dust Mop and Why Use One
A dust mop is a long-handled cleaning tool designed to remove dust, dirt, and debris from hard floors without using water or cleaning solutions. Unlike traditional brooms with stiff bristles, dust mops feature a wide, flat head made from absorbent materials like microfiber or cotton that glide smoothly over floor surfaces.
Understanding Dry Dust Mops
Dry mopping is a cleaning technique that removes dust, dirt, and debris from floors without using any cleaning solutions or water. The process relies on static charge and microfiber friction to create a magnetic effect that attracts dust particles. As you move the mop across the floor, the fibers grab onto dust and collect it on the mop head rather than pushing it around or releasing it back into the air.
The dry-mopped surface can be walked on immediately and requires no drying time. This makes dust mops particularly valuable for environments where moisture needs to be avoided, such as areas with sensitive electrical components or moisture-sensitive flooring materials.
Benefits of Regular Dust Mopping
Research shows that dry mopping practices can reduce airborne dust particles by 60% compared to untreated floors. Daily dry mopping helps control allergens and keeps spaces looking clean. Dust mops capture dust and allergens with their microfiber pads, producing cleaner air than brooms do.
The cleaning process with dry mops takes less time because they can handle 2,000 sq. ft. in 10 minutes, whereas brooms need 20 minutes to complete the same task. Pre-cleaning with dust mops removes 80% of dust and dirt before wet mopping begins. Commercial facilities see a 35% drop in cleaning chemical use by using dry mopping regularly.
How Dust Mops Protect Your Floors
Dust, grit, and other debris act as abrasives that cause scratches and wear on flooring surfaces. Dust mops prevent this damage by removing particles before they can be ground into the floor. Their soft fibers glide smoothly over the floor without causing scratches or damage, making them gentler than brooms on hardwood, laminate, tile, and vinyl surfaces.
Regular dust mopping extends the lifespan of expensive flooring materials by preventing dirt accumulation and subsequent wear. Facilities can reduce the frequency of floor replacements and heavy cleaning requirements through consistent dust mopping practices.
Choosing the Right Dust Mop for Your Space
Selecting the appropriate dust mop depends on several factors, including space size, flooring type, and whether you have access to laundry facilities.
Types of Dust Mops (Launderable vs. Disposable)
Launderable dust mops offer the best long-term value. Microfiber mops withstand 100-300 washing cycles, while synthetic blends last 24-40 cycles before performance degrades. These reusable options require proper laundering after each use to maintain effectiveness.
Disposable mops serve specific situations where laundering isn’t possible. Research shows that 27.3% of newly laundered mops from hospitals contained microbial contamination. Single-use options eliminate cross-contamination risks but create more waste. On the condition that you clean daily in multiple areas, launderable mops prove more economical despite higher upfront costs.
Selecting the Correct Mop Size
Mop sizes range from 9″ for tight spaces to 48″ for large open areas. Small mops around 12″ work well in bathrooms and areas with obstacles. The most common sizes fall between 16″ and 24″, offering enough coverage while maintaining maneuverability.
Large mops from 36″ to 60″ handle gyms, halls, and hallways efficiently. Furthermore, mop pads should extend beyond the hardware to prevent baseboards and walls from getting damaged.
Dust Mop Materials and Their Uses
Three primary materials dominate the market:
- Cotton: Most economical option. Accepts dust treatment to enhance particle attraction. Best for picking up large debris but requires treatment for fine dust. Not recommended for laundering.
- Synthetic: Picks up dust through static attraction without treatments. Good durability and launderability. Works on tile, ceramic, hardwood, concrete, and vinyl.
- Microfiber: Fibers measure one-third the diameter of cotton. Creates electrostatic charge that attracts negatively charged dirt. Removes over 99% of bacteria and can be laundered over 200 times. Ideal for smooth flooring like gym floors or laminate.
Looped-end construction prevents fraying and tangling, while cut-end styles cost less initially but deteriorate faster.
How to Dust Mop Floors Step-by-Step
Proper dust mopping technique requires following specific steps to achieve clean floors without causing damage.
Step 1: Prepare Your Area
Remove movable furniture, area rugs, and trash cans from the space you plan to clean. Walk through and pick up large pieces of debris that the dust mop cannot sweep away easily. These larger items would otherwise push across the floor and potentially scratch surfaces. Besides clearing obstacles, scrape away any gum or stickers with a putty knife or long-handled scraper before you begin.
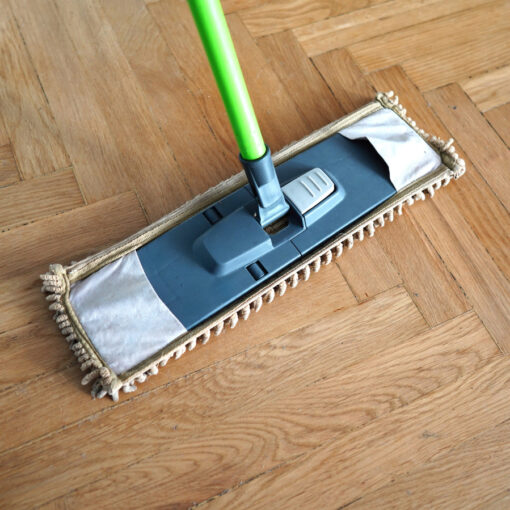
Step 2: Attach and Position the Mop Head
Slide the wire dust mop frame into the dust mop backing. Pinch the dust mop handle clip to connect the handle to the frame. Verify the mop head sits clean, completely dry, and assembled tightly according to manufacturer instructions. Place the assembled mop head flat against the floor as close as possible to one edge of the room.
Step 3: Use the Proper Mopping Technique
Hold the handle close to your chest or stomach as you push the mop forward. Make long, straight passes while keeping the mop head flat on the floor. Pull the head back frequently and shake out dust to prevent debris from loading up in the strands. When you reach the end of each pass, make a broad sweeping turn to keep debris in front of the mop, then return down overlapping your previous path by 6 to 8 inches.
Step 4: Handle Corners and Tight Spaces
Use a counter brush for hard-to-reach areas such as corners, under desks, around doors, and around cords. Get as close to edges as possible during your passes.
Step 5: Collect Debris and Finish
Sweep up accumulated dirt and debris with a dustpan and broom once you complete dust mopping. Empty the dustpan into a trash container.
Step 6: Clean Your Dust Mop After Use
Take the mop outside and shake it vigorously to remove trapped dust, lint, and hair. Wash launderable mop heads according to manufacturer instructions after shaking.
Common Mistakes That Damage Floors
Even experienced cleaners make errors that compromise floor protection and cleaning effectiveness. Understanding these mistakes helps you maintain both your floors and your dust mop investment.
Using a Dirty or Over-Treated Mop
Reusing dirty mop pads spreads dirt instead of removing it. When mop heads aren’t cleaned properly, they transfer bacteria and debris into your next cleaning session before even touching the floor. Dirty mop fibers lose absorbency and cause particles to smear across surfaces rather than being lifted effectively. Similarly, applying too much dust treatment creates sticky residue that attracts dirt and compromises the wood’s finish. Clean your dust mop after each use to prevent bacterial growth and maintain cleaning performance.
Lifting the Mop Head During Cleaning
Breaking contact between the mop head and floor during passes reduces dust collection efficiency. Keep the mop head flat and in constant contact with the floor surface throughout each stroke for maximum particle capture.
Skipping Regular Cleaning Schedules
Waiting too long between sessions allows dirt and grime to build up, making removal harder. Regular sweeping, dust mopping, or vacuuming prevents the need for deep cleaning as often. Create a schedule based on foot traffic and pet presence to maintain floors properly.
Using the Wrong Mop for Your Floor Type
Microfiber mops work well on moisture-sensitive flooring like hardwood and laminate, owing to their soft texture that avoids scratches. Steam mops damage hardwood, laminate, and vinyl by allowing moisture to penetrate cracks and cause warping.
Conclusion
You now have everything needed to dust mop your floors correctly and protect them from unnecessary damage. Keep your mop head clean, use the proper technique with flat, overlapping strokes, and choose the right mop for your floor type.
Most importantly, stick to a regular dust mopping schedule based on your foot traffic. If you follow these principles consistently, your floors will stay cleaner, last longer, and require fewer deep cleanings over time.
