
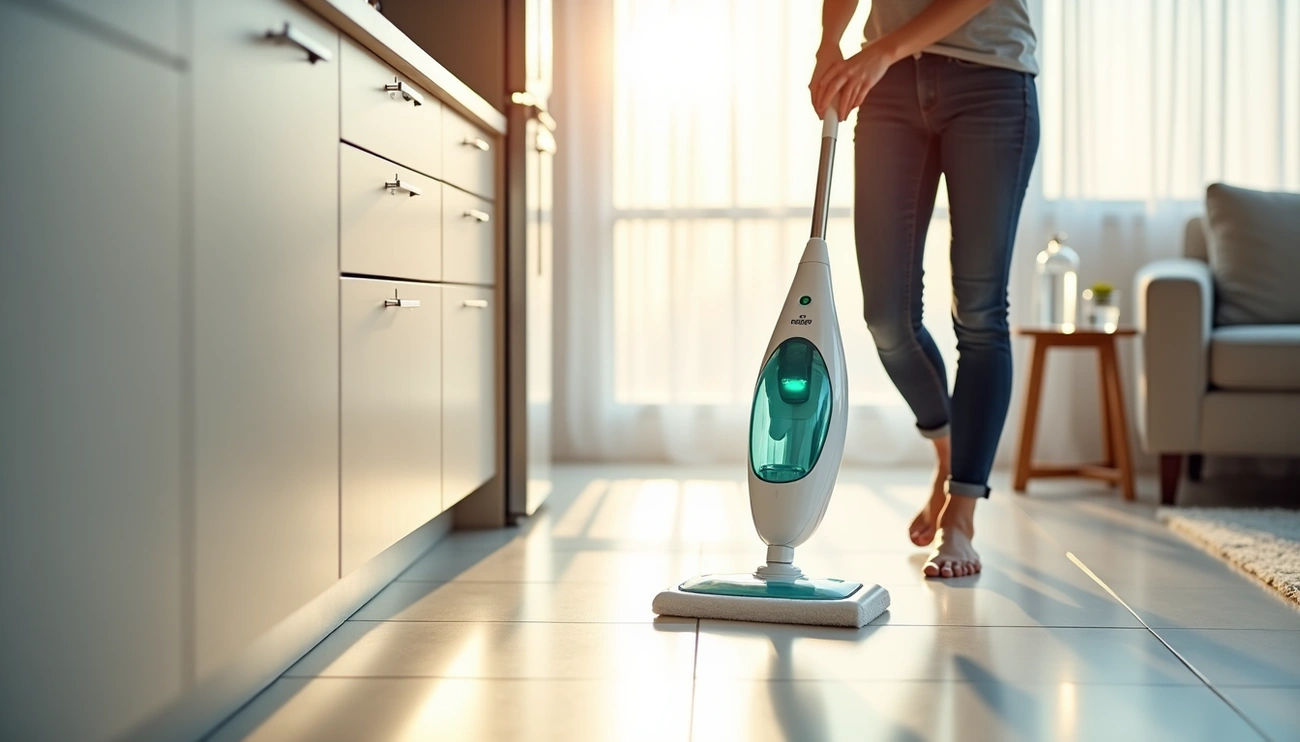
Use a Bissell steam mop by filling the tank with water, preferably distilled, and attaching a clean mop pad. Plug it in, wait 30 seconds for the steam ready light, select your steam level, and move the mop back and forth over sealed floors. Do not use on waxed surfaces or unsealed hardwood.
Assembling Your Bissell Steam Mop
Your Bissell steam mop arrives in separate components that snap together quickly. Most models require only a Phillips head screwdriver for assembly.
Attaching the Mop Head to the Body
First, position the lower body directly above the swivel mop head. Align the connection points and press down firmly until you hear a distinct click. This clicking sound confirms the parts have locked together securely.
For models with a separate body and mop head, insert the body into the steam mop head while carefully aligning the screw hole. The screw (typically attached to the handle) will secure this connection in the next step.
Inserting and Securing the Handle
The handle assembly process varies slightly between models, but follows this general pattern:
- Attach the handle to the handle tube by sliding it down until it clicks into place. Verify that the end with the cord wrap is properly positioned on the handle tube.
- Insert the assembled handle tube into the body of the machine, pushing down until you hear another click. The handle should slide in smoothly without forcing.
- Locate the Phillips head screw that came with your steam mop. This screw secures the handle assembly to prevent loosening during use.
- Tighten the screw using your Phillips head screwdriver, ensuring the handle feels stable and doesn’t wobble[43]. Some models use a large screw through a designated screw hole.
The handle should now stand firmly upright without any movement at the connection points.
Wrapping the Power Cord
Prior to your first cleaning session, the power cord needs proper storage. Locate the upper and lower cord wraps on your Bissell steam mop. These small hooks or grooves keep the cord organized.
Start at the top cord wrap and wind the power cord around both the upper and lower wraps in a smooth pattern. Keep the cord snug but not overly tight. This prevents tangling and protects the cord from damage during storage.
When ready to use your steam mop, simply unwind the cord from both wraps. Your Bissell steam mop is now fully assembled and ready for the water filling stage.
Filling the Water Tank
Water is essential for your Bissell steam mop to operate. The water tank must be filled before you can generate steam and clean your floors.
Detaching the Water Tank
The tank location and removal method depend on your specific model. For most Powerfresh models, the water tank sits on top of the machine. To remove it, lift the tank straight up and away from the unit.
If you have a PowerEdge steam mop, locate the tank on the back of the machine. Push the button on top of the tank and pull out. Some models feature a different design where the cap unscrews rather than lifts off. For these units (like the 1940W), twist the cap counterclockwise to open. Avoid forcing any components, being that this may damage the seal.
Adding Water to the Tank
Before filling, remove the cap or plug. Models with lift-off caps open by pulling the water tank cap straight up. For tanks with rubber plugs, remove the gray rubber plug on the back of the water tank. Units with bottom-fill designs require you to unscrew the cap at the bottom and remove the insert assembly.
Fill the tank with a maximum of nineteen ounces. Use distilled or demineralized water for best results [103]. Only water is to be used in the machine. Do not use vinegar or any other solution as it could damage the water tank. Chemicals should never be added to the water tank.
After filling, replace the insert assembly and cap if applicable, tightening until snug. For models with rubber plugs, place the plug back into the water tank.
Reattaching the Tank to the Mop
Position the water tank back onto the unit. For button-release models, put the bottom in first and return the tank to the machine until it clicks into place. Push down securely so there are no gaps. Gaps between the tank and machine body can cause leaking during operation.
Verify the cap is securely attached to the tank before inserting it into the machine. If the tank doesn’t fit properly, check whether the cap has lodged in the receiving area.
Operating Your Bissell Steam Mop
With your tank secured, plug the machine into a properly grounded outlet to begin the heating process.
Plugging In and Waiting for the Ready Light
Once plugged in, the indicator light will illuminate red. After about 20 seconds, the light will change to green when your steam mop is ready to use. Some models feature a blinking ready light that turns solid after 30 seconds. Wait for the solid light before selecting your steam level. If the light doesn’t change to green or remains off, verify your outlet is functioning properly.
Selecting Your Steam Level
Most Bissell steam mops offer three steam settings matched to your cleaning needs:
Low handles delicate floors or light everyday cleaning. Medium works for regular maintenance on most hard surfaces. High tackles durable floors or sticky messes.
Press the steam level button to choose your desired setting. The SmartSet indicator light confirms your selection.
Using the Steam Trigger
Pull the trigger located underneath the handle of the handheld pod to release steam. Press and hold continuously for steam output. If steam doesn’t appear immediately, it may take up to 2 minutes during initial use.
Upon first use or after refilling, the pump may make a knocking sound. This is normal and will diminish after a few seconds.
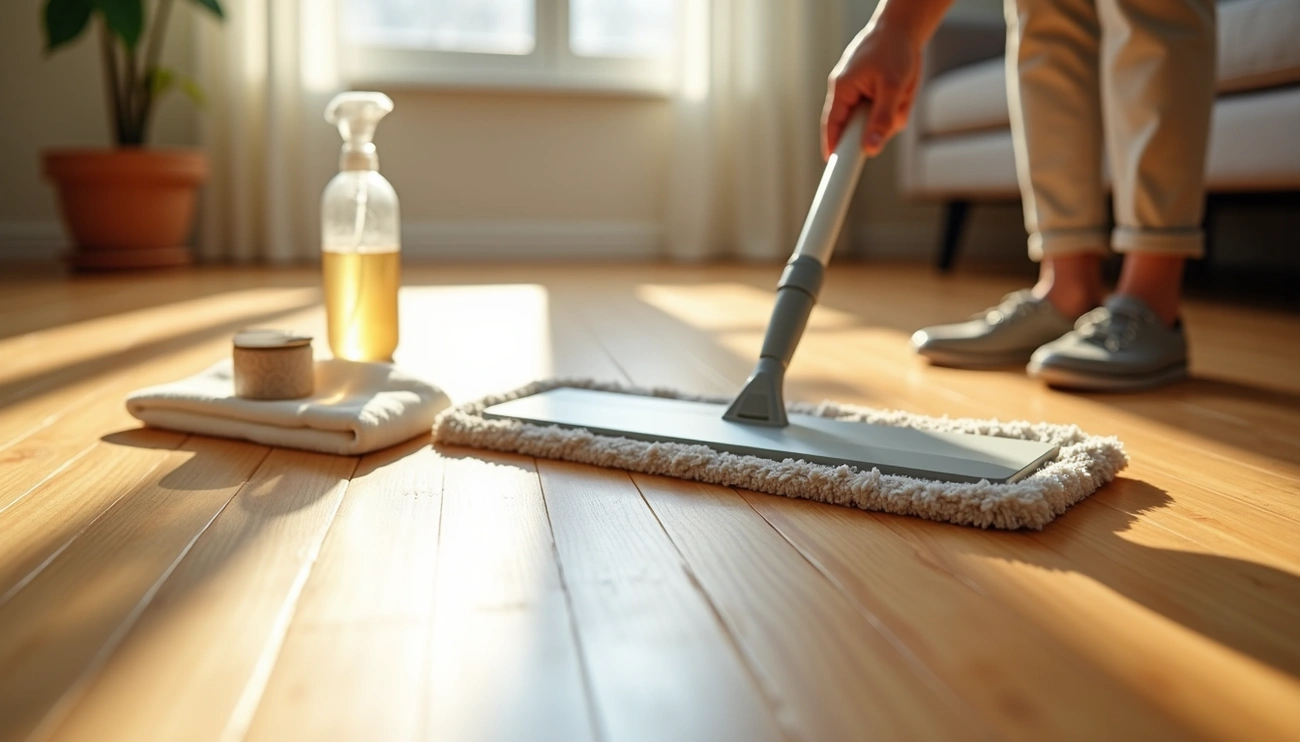
Moving the Mop for Effective Cleaning
Step on the back of the foot to recline the mop body and begin cleaning. Glide the mop slowly across your floor rather than pressing hard. Keep the steam mop moving constantly and avoid letting it idle on any spot. Make multiple light passes over the entire floor for thorough cleaning.
Sanitizing Your Floors with Steam
To sanitize an area, place the steam mop over the spot for a minimum 15 seconds using continuous steam. Do not exceed 20 seconds of continuous steam in one location. For best results, slowly and evenly stroke your steam mop back and forth at least three times over the area.
Tips for Best Results and Maintenance
Proper care extends the life of your Bissell steam mop and maintains peak cleaning performance.
Using Distilled Water Instead of Tap Water
Tap water contains minerals that accumulate on the heating element, causing damage or reduced performance. Distilled or demineralized water maximizes filter performance and prevents calcium deposits. Mineral buildup from tap water requires more frequent cleaning and can clog the steamer head over time, reducing steam output. Using distilled water prevents corrosion of internal components, potentially adding years to your steam cleaner’s lifespan.
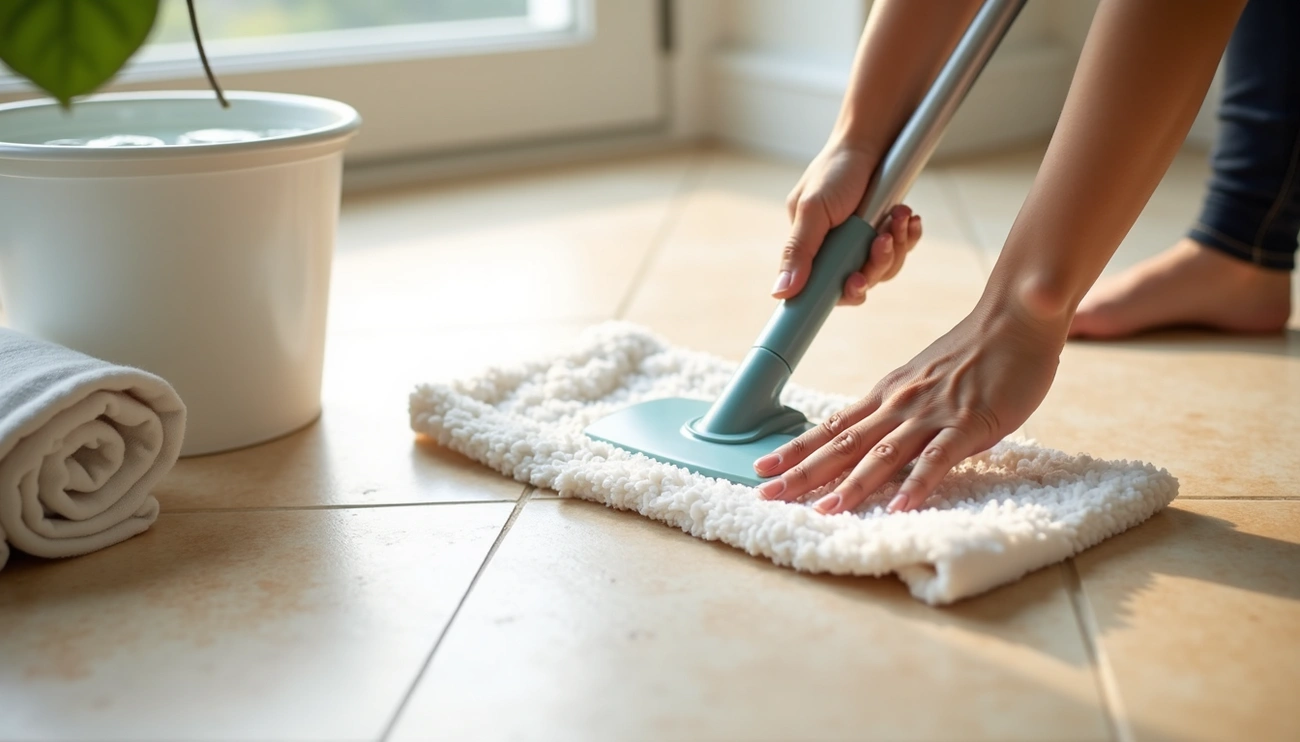
Washing the Mop Pad After Each Use
Machine wash the mop pad in warm water with liquid detergent. Avoid bleach or fabric softeners, as fabric softener diminishes microfiber’s cleaning properties. Air dry the pad for best results.
Handling the Initial Knocking Sound
A knocking noise occurs during first use, when the machine runs out of water, or after sitting for extended periods. This sound comes from the pump pulling water through the system. Fill the tank, plug in the machine, select a steam setting, and wait up to 90 seconds. The knocking will diminish to a muffled hum once water enters the pump.
Proper Storage Between Uses
Store the machine upright in a dry area. Never store with a wet mop pad attached, as this causes white mark formation on floors. Wipe down exterior surfaces with a soft cloth after each use [212].
Conclusion
You now have everything you need to use your Bissell steam mop effectively and keep your floors spotlessly clean. From assembly to proper operation, these steps will help you achieve chemical-free sanitization that eliminates 99.9% of germs.
Most important, remember to use distilled water and wash your mop pads after each use. Follow these simple practices, and your Bissell steam mop will deliver sparkling results for years to come. Happy cleaning!
