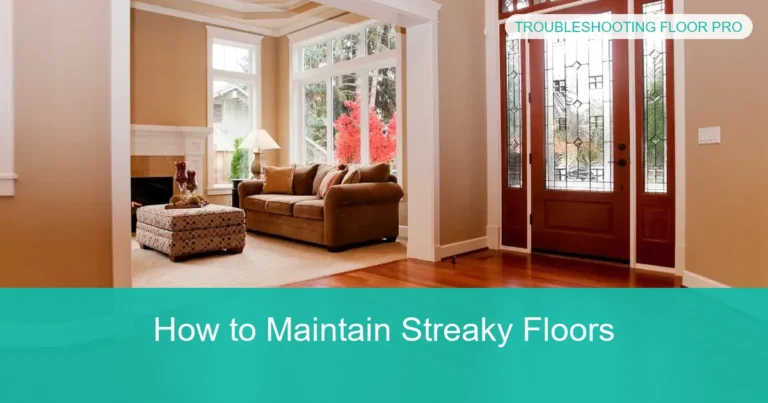
Scratches After Mopping Guide to Fix and Prevent Damage
Scratches after mopping are often caused by grit, dirty mop pads, excess water, or residue that only looks like damage. The safest fix is to identify the floor type first, clean away film, and use only a compatible repair method. Related: floor scratches after mopping. Related: mopping damage. Related: scratch repair floors. Related: mop residue. Related: microfiber mop.
If your floors look scratched after mopping, the problem may be true abrasion, cloudy residue, or finish wear rather than permanent damage. This scratches after mopping guide will help you identify the cause, choose a safe fix, and prevent the marks from coming back.
- Check first: Decide whether the mark is a scratch, dulling, or residue.
- Match the floor: Wood, vinyl, laminate, tile, and stone need different care.
- Prevent grit: Sweep or vacuum before mopping and change dirty water often.
- Use gentle tools: Soft microfiber pads are safer than abrasive scrubbers.
- Ask for help: Deep, widespread, or recurring marks may need a professional.
Why Scratches Appear After Mopping: Common Causes and User Intent
Most people search this topic because the floor looked fine before cleaning and worse afterward. That usually means the mop, cleaner, or leftover grit changed how the surface reflects light, or it may have dragged fine particles across the finish.
How this guide helps you identify whether the damage is true scratching, dulling, or residue buildup
True scratches usually interrupt the finish or surface layer and may catch a fingernail. Dulling often looks hazy or uneven, while residue buildup can create streaks, cloudy patches, or a slippery film that resembles abrasion.
That distinction matters because the fix is different. A residue problem may need a rinse or reset, while a scratched finish may need a restorer, touch-up product, or professional repair.
Most common triggers in 2025 homes: grit, wrong mop heads, excess water, and harsh cleaners
The most common trigger is still grit. Tiny bits of sand, pet litter, dried food, or outdoor dust can act like sandpaper when they get pushed around by a mop.
Other frequent causes include worn mop pads, abrasive scrubbers, too much water, and cleaners that leave film behind. In some homes, the issue starts after a rushed cleaning routine rather than one bad product.
If marks appear right after mopping, stop and inspect the mop pad first. A dirty or gritty pad can turn a simple cleaning session into a scratch-making pass.
Which Floor Types Are Most Vulnerable to Scratches After Mopping
Not every floor reacts the same way. Some surfaces show cosmetic marks easily, while others are more likely to swell, dull, or lose finish before they show a true scratch.
Hardwood and engineered wood: finish wear, micro-scratches, and water sensitivity
Hardwood often shows micro-scratches because its finish can be worn down by grit and repeated friction. Engineered wood can behave similarly, though the top layer and finish type vary by product.
Water is also a concern. Too much moisture can leave the surface looking streaky, hazy, or dull, and that can be mistaken for scratching after the floor dries.
Luxury vinyl plank and vinyl tile: scuffing, surface abrasion, and cleaner residue
Luxury vinyl plank and vinyl tile usually resist everyday wear well, but they can still show scuffs, drag marks, or cleaner residue. A glossy vinyl surface may make light abrasion more visible than a matte one.
Some vinyl floors also react poorly to harsh chemicals or scrub pads. If the top layer is damaged, the mark may not be a scratch in the traditional sense, but it can still look like one.
Laminate: top-layer damage and swelling risks from too much moisture
Laminate has a protective top layer, so scratches often show up as damage to that surface rather than to the core board. Once that layer is compromised, the mark is usually more noticeable and harder to hide.
Excess moisture is another issue. If water gets into seams, the floor may swell or lift, creating ridges that can look like scratches or uneven wear.
Tile and stone: grout-line debris, sand particles, and dulling mistaken for scratches
Tile and stone are often harder than wood or vinyl, but they are not immune to mop-related damage. Sand trapped in grout lines can be dragged across the surface and leave faint marks.
On polished stone, dulling from cleaner residue or etching may be mistaken for scratching. If the surface has lost shine in patches, the issue may be chemical rather than mechanical.
How to Diagnose the Damage Before You Try to Fix It
Before using any repair product, take a few minutes to inspect the mark closely. A careful check can save you from using the wrong treatment on a floor that only needs cleaning.
Spotting surface marks versus deeper gouges or finish failure
Surface marks usually look light, thin, and scattered. Deeper gouges may feel rough, show a visible line, or expose a different color underneath the finish.
Finish failure often looks broader than a scratch. You may see cloudy zones, worn traffic paths, or a patch where the sheen is clearly different from the surrounding floor.
Simple at-home checks: light test, fingernail test, and damp-cloth wipe test
Shine a flashlight or place a lamp low to the floor. True scratches often cast tiny shadows, while residue streaks usually change appearance as the angle changes.
Gently run a fingernail across the mark. If it catches, the surface may be damaged; if it feels smooth, the issue may be residue or dulling.
If the mark fades or shifts after a light wipe, you are likely dealing with buildup or film. Use only a slightly damp cloth so you do not add more moisture than needed.
Practical example: identifying whether streaks are from dirty mop water or actual abrasion
Say a kitchen floor looks scratched after mopping, but the marks are in long, dull streaks. If those streaks soften after a clean damp wipe, dirty mop water or leftover cleaner is the likely cause. [Source: WebMD]
If the lines stay visible, feel rough, and appear in the same path where the mop dragged debris, the floor may have light abrasion. In that case, a surface-safe repair product may help, but only if the floor type supports it.
Step-by-Step Ways to Remove Light Scratches or Reduce Their Appearance
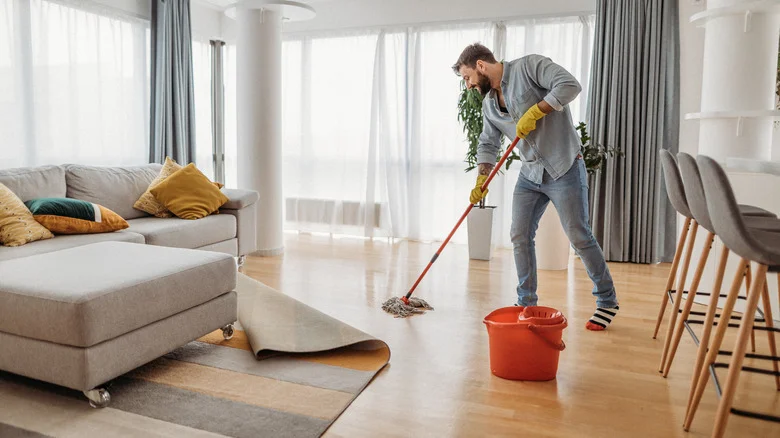
Light marks can often be reduced, especially when the issue is residue, scuffing, or shallow finish wear. The safest approach is to clean first, then use a product matched to the floor type.
Cleaning away residue that can mimic scratches
Start with a dry or barely damp microfiber cloth to remove loose dust. Then clean the area with the mildest compatible method for your floor, because some surfaces react badly to strong cleaners or excess water.
If the mark is film-related, a second pass with clean water may help lift leftover cleaner. For floors that tolerate it, a pH-appropriate cleaner can be useful, but always follow the flooring maker’s guidance when available.
Using the right repair method for the floor type: polish, restorer, touch-up marker, or wax-safe product
| Method / Product | Best For | Be Careful With |
|---|---|---|
| Wood floor polish or restorer | Light dulling, minor surface wear on finished wood | Unfinished wood, waxed floors, or damaged finish layers |
| Touch-up marker or repair pen | Small visible lines on wood, laminate, or some vinyl | Color mismatch and overapplication on glossy floors |
| Vinyl-safe restorer | Scuffs and light abrasion on LVP or vinyl tile | Products not labeled for resilient flooring |
| Stone-safe cleaner or polish | Dulling that is really residue on tile or stone | Acidic formulas on natural stone |
Match the product to the floor type and finish. A product that helps one surface can make another floor sticky, cloudy, or more slippery, so read labels carefully.
- Small, isolated marks
- Surface dulling and scuffs
- Floors with a compatible finish
- Deep gouges
- Unknown floor finishes
- Waxed, oiled, or specialty surfaces
When a DIY fix is safe and when it can make the problem worse
DIY repair is usually safest when the damage is light, localized, and clearly surface-level. It is less safe when the floor is expensive, old, or already showing signs of finish failure.
If a product requires buffing, stripping, or aggressive rubbing, stop and reassess. On delicate flooring, that extra friction can enlarge the mark or create a new dull patch.
Do not test a repair product across a large area first. Always spot-test in a hidden corner, especially on wood, laminate, stone, or any floor with an unknown finish.
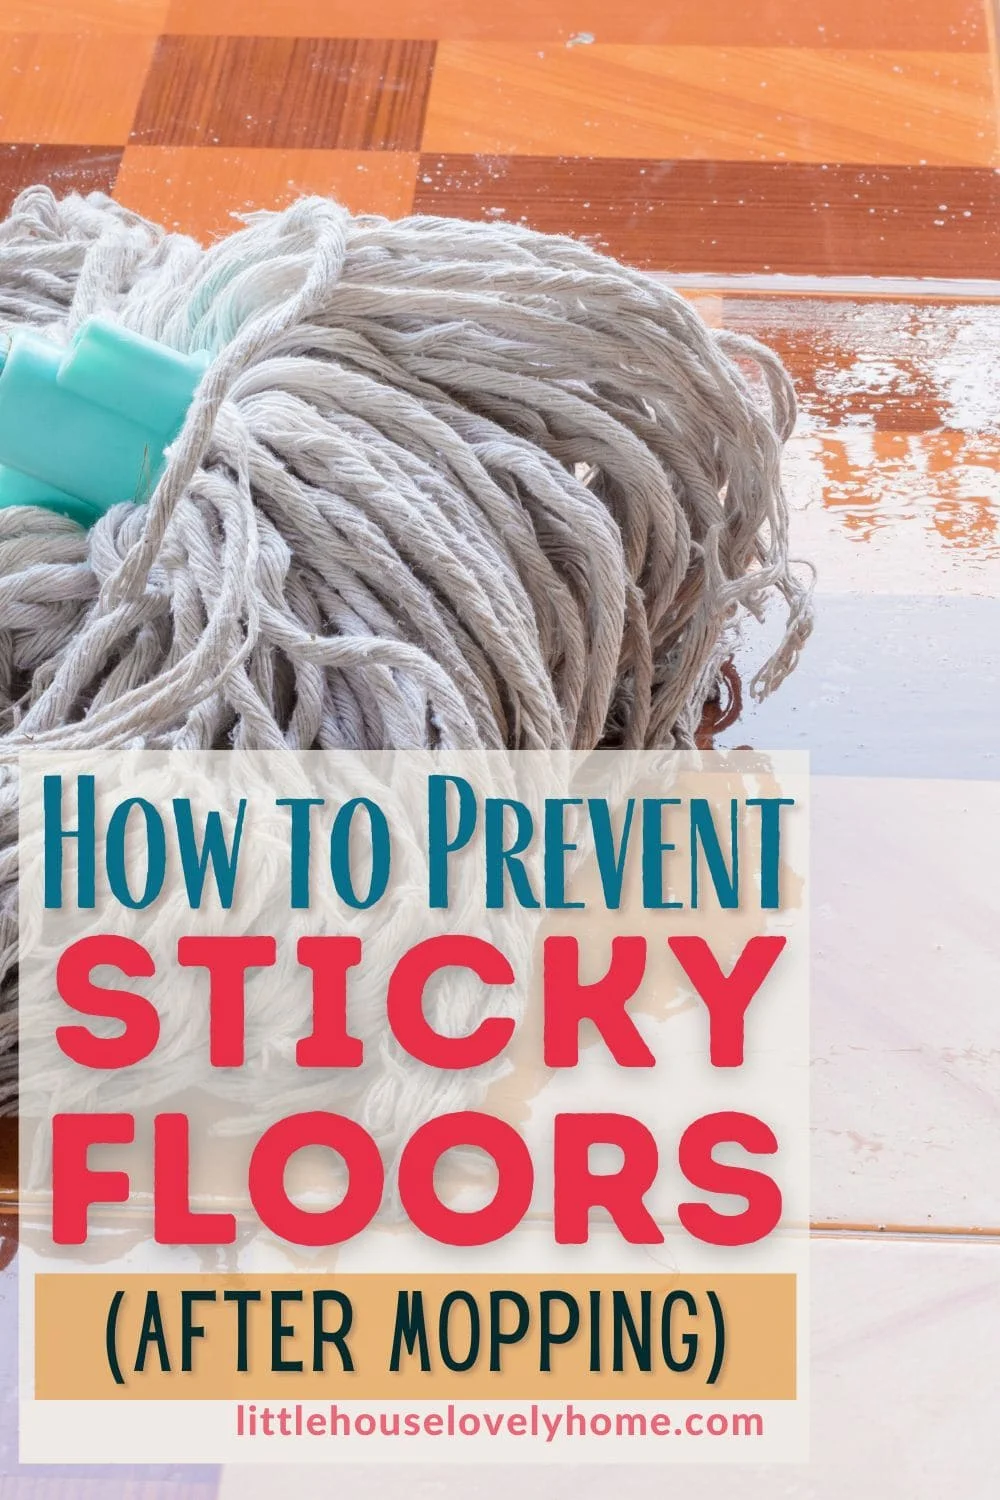
Cleaning Mistakes That Cause Scratches After Mopping
Many “scratches” are actually cleaning mistakes that leave the floor looking damaged. The good news is that these problems are often preventable once you know what to watch for.
Using a dirty mop pad or dragging grit across the floor
A dirty mop pad can trap grit and spread it from one room to the next. If the pad is loaded with dust, hair, or sand, it can scratch the surface even when the cleaner itself is gentle.
Dragging a mop instead of lifting and rinsing it between passes can also grind debris into the floor. This is especially common in entryways, kitchens, and hallways with heavy foot traffic.
Choosing abrasive tools, scrub pads, or steam on incompatible surfaces
Scrub pads and rough sponges may remove scuffs, but they can also remove finish. Steam is another common mistake because some floors, especially wood and certain vinyl products, do not tolerate it well.
If you are unsure about compatibility, check the flooring manufacturer’s care instructions or ask a flooring professional before using heat or abrasion.
Mixing the wrong chemicals or overusing cleaner and leaving a film
Too much cleaner can leave streaks that look like scratches under bright light. Mixing products is riskier still, because the residue can become sticky, hazy, or hard to remove.
If your floor feels tacky after cleaning, you may be seeing the same issue discussed in why floor feels sticky after mopping. That sticky film can make the surface look worn even when the finish is intact.
Overwetting floors and creating hidden damage that looks like scratching later
Excess water can seep into seams, soften edges, or leave mineral marks after drying. On some floors, that damage shows up later as cloudy lines, lifted joints, or uneven sheen that resembles scratching.
If your floor stays wet for a long time, review your drying method too. A quick follow-up with a dry cloth can help, and this pairs well with the advice in how to dry a floor after mopping.
How to Prevent Scratches During Future Mopping
Prevention is usually easier than repair. A better prep routine, the right mop, and cleaner water changes can reduce the chance of scratches after mopping dramatically.
Proper pre-cleaning: sweeping, vacuuming, and edge cleaning before mopping
Always remove loose grit before the mop touches the floor. Sweeping or vacuuming first is the single most effective way to prevent grit from being dragged across the surface.
Do not forget edges, corners, and baseboards. Dirt often collects there and gets pulled into the center of the room during mopping.
Best mop choices for each floor type in 2025: microfiber flat mops, soft pads, and spray mops
Microfiber flat mops are a strong all-around option because they pick up fine dust without being overly abrasive. Soft pads and gentle spray mops can also work well when used with floor-safe cleaner and light moisture. [Source: Britannica]
For wood, vinyl, and laminate, a low-moisture approach is usually safer than a soaking wet string mop. For tile, a microfiber or soft-pad mop is still a smart choice, especially if the grout tends to hold debris.
Safer cleaning routine: dilution, water changes, and section-by-section mopping
- Mix cleaner at the label’s recommended dilution.
- Change dirty water before it turns gray or gritty.
- Mop one section at a time and rinse the pad as needed.
- Use light pressure instead of scrubbing hard.
- Dry high-risk floors promptly after cleaning.
Section-by-section mopping helps keep grit from spreading. It also makes it easier to spot a problem early, before you finish the whole room and wonder where the marks came from.
Protective habits: felt pads, entry mats, and grit control in high-traffic areas
Felt pads under furniture can reduce tiny drag marks when chairs or tables shift. Entry mats help catch sand and dirt before they reach the floor, which is especially useful in rainy or snowy weather.
If possible, keep a small dust mop or handheld vacuum near the busiest areas. That makes it easier to remove grit before your next mop session and supports a more consistent weekly mopping routine.
Cost, Repair Options, and When a Flooring Professional Is the Better Call
Some floor marks can be handled with a cleaner, restorer, or touch-up product. Others need more than a cosmetic fix, especially if the floor is expensive or the damage keeps returning.
Comparing DIY cleaning products versus professional refinishing or repair
DIY products are usually the lower-cost first step when the issue is mild and clearly surface-level. They can be a practical choice for residue, scuffs, and light dulling, but they are not a cure for deep damage.
Professional repair or refinishing may be more appropriate when the finish is worn through, the color is damaged, or the floor needs patching across a larger area. The right choice often depends on the floor type and how visible the damage is.
When scratches are cosmetic and when they signal finish loss, subfloor moisture, or structural issues
Cosmetic marks usually affect appearance only. If the floor still feels solid and the damage is limited to the top layer or sheen, the issue may be manageable without major work.
When the floor is soft, swollen, lifting, or showing darkened seams, the problem may be deeper. That can point to moisture intrusion, finish failure, or a subfloor issue that needs professional evaluation.
Signs you should contact a flooring professional: widespread damage, deep gouges, or recurring marks after every mop session
Contact a flooring professional if the marks cover a wide area, if the scratches are deep enough to catch easily, or if the floor keeps looking worse after every cleaning. Recurring damage often means the real cause has not been fixed.
You should also ask for professional guidance if the floor is under warranty, has a specialty finish, or is made from a material you are unsure how to treat safely. That is especially important for stone, older hardwood, and high-end engineered products.
Final Recap: The Fastest Way to Stop Scratches After Mopping
The fastest fix is to identify whether you are seeing true scratching, dulling, or residue, then match the solution to the floor type. In many homes, the real answer is better prep, gentler tools, and less water rather than a stronger cleaner.
Key takeaways for fixing, preventing, and matching the method to your floor type
Start by removing grit, checking the mop pad, and wiping away any film that may be hiding the real condition of the floor. If the mark remains, use a compatible repair product only after confirming your floor’s finish and moisture tolerance.
When in doubt, choose the least aggressive method first. If the damage is widespread, deep, or tied to moisture, it is smarter to ask a professional than to gamble with a costly floor.
Simple next-step checklist for safer mopping and long-term floor protection
Use a microfiber or soft-pad mop, keep water changes frequent, and dry the floor promptly after cleaning. Add entry mats, felt pads, and regular dust removal so grit never gets a chance to scratch the surface.
For more support on mopping habits that protect floors, it can also help to review related guidance on weekly mopping mistakes and keep your routine consistent.
Frequently Asked Questions
Floors may look scratched after mopping because grit was dragged across the surface, the mop pad was dirty, or cleaner residue left streaks. In some cases, the floor is dull rather than truly scratched.
Use a light test, a gentle fingernail test, and a damp-cloth wipe test. If the mark fades or changes after wiping, it is more likely residue or film.
A microfiber flat mop or another soft-pad mop is usually the safest choice for delicate floors. The best option still depends on the floor type and finish.
Yes. Excess water can leave streaks, dull spots, swelling, or seam damage that may look like scratches after the floor dries.
Steam is not a good choice for every floor, especially wood and some vinyl or laminate products. Check the floor maker’s care instructions before using heat.
Call a flooring professional if the damage is widespread, deep, or keeps returning after cleaning. You should also ask for help if the floor has a specialty finish, warranty concerns, or signs of moisture damage.